
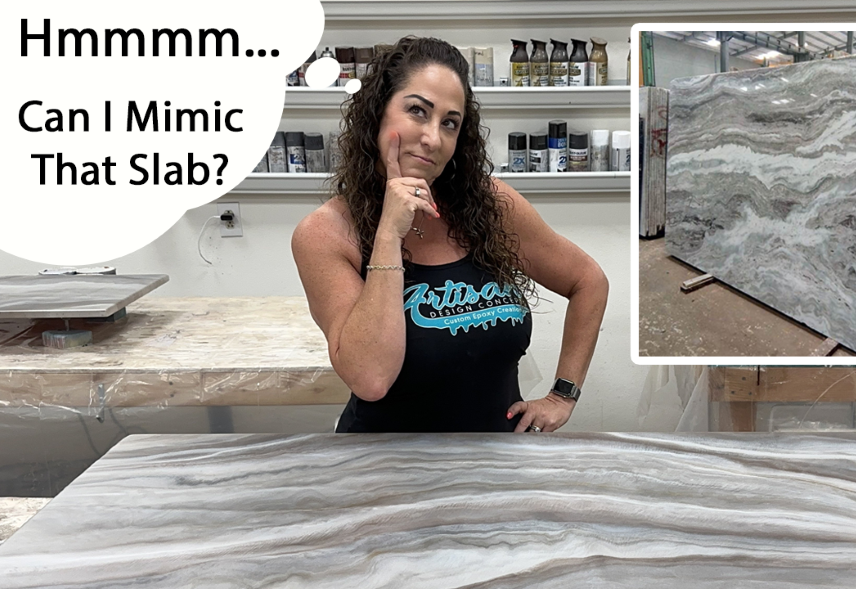
Ever wondered if epoxy can truly mimic the luxurious look of real marble? In this video, Artisan Design Concepts demonstrates a stunning “Fantasy Brown Marble” finish—a soft, warm swirl that flawlessly complements a customer’s flooring. This tutorial shows how epoxy can create elegant stone effects without the cost or maintenance.
What You’ll Learn
Here’s a quick overview of the process and techniques used:
- Surface Preparation
We started with a clean, primed substrate—free of dust, oils, and imperfections to ensure proper bonding. - Creating the Base Color
A warm epoxy base is poured and evenly spread to set the stage. - Building the Marble Effects
- We introduce lighter white and cream tints using a fluid-pouring technique.
- Soft, linear motion with a stir stick creates the veining effect.
- A heat gun gently blends and moves colors for that natural stone look.
- Final Blend and Edge Work
We add final accents, blending the edges of the veins into the base tone to avoid harsh lines.
Why This Works
- Budget-friendly elegance – Achieves a marble-inspired look without marble’s price tag.
- Highly customizable – By adjusting colors or vein patterns, you can match any space or decor.
- DIY or Pro-level – The techniques are explained clearly enough for confident DIYers, but pro results come from careful execution and practice.
Project Outcome
The finished surface has a soft, natural-looking marble effect that floods the room with warmth—perfect for backsplashes, vanities, bars, or accent floors.
Tips from Artisan Design Concepts
- Always prep thoroughly—dust or residue ruins adhesion and appearance.
- Practice your heat gun technique—too hot, and the epoxy blurs too much; too cool, and veins stay harsh.
- Keep vein movement smooth with a stir stick and subtle hand motion for a natural look.