
In this comprehensive video, Artisan Design Concepts takes viewers through the entire process of building a U-shaped kitchen countertop—from constructing the base to applying a flawless epoxy finish. Whether you’re a homeowner considering a DIY project or planning to hire a pro, this walkthrough offers invaluable insight.
What You’ll Learn
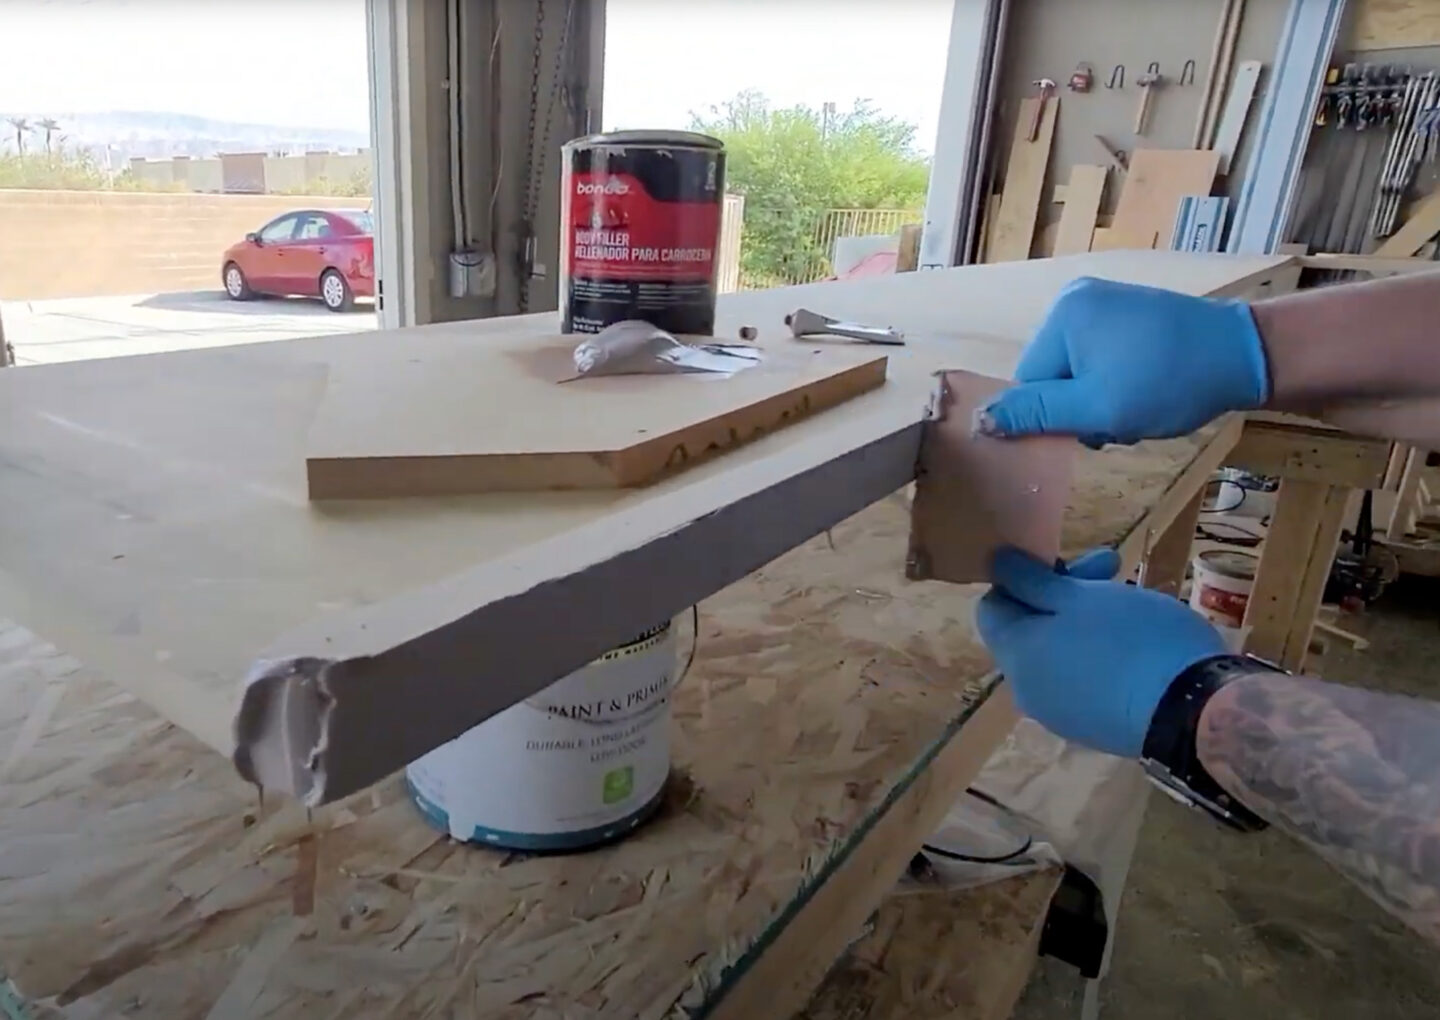
- Framing & Build-Out – crafting a sturdy core using quality materials.
- Substrate Prep – ensuring flat, secure surfaces ready for epoxy.
- Edge Treatment – shaping edges for clean lines and refined design.
- Mixing & Pouring Epoxy – achieving bubble-free pours with professional consistency.
- Smoothing & Leveling – using techniques and tools to ensure a perfectly flat finish.
- Curing & Trim – letting the epoxy set properly before adding finishing touches.
Why It’s Valuable
- Holistic View – see every stage, not just the pour, giving context to epoxy work.
- Build with confidence – great for DIYers and enhances client understanding.
- Professional results – techniques used guarantee a high-end surface and clean edge work.
Pro Tips from the Video
- Secure, level base is key—nothing ruins an epoxy pour faster than uneven surfaces.
- Mix thoroughly, pour quickly—ensure proper curing and a smooth finish.
- Use the right tools—spreaders, heat guns, and finishing tools make a difference.
- Allow full cure time—rushing finishing steps can lead to problems later.