
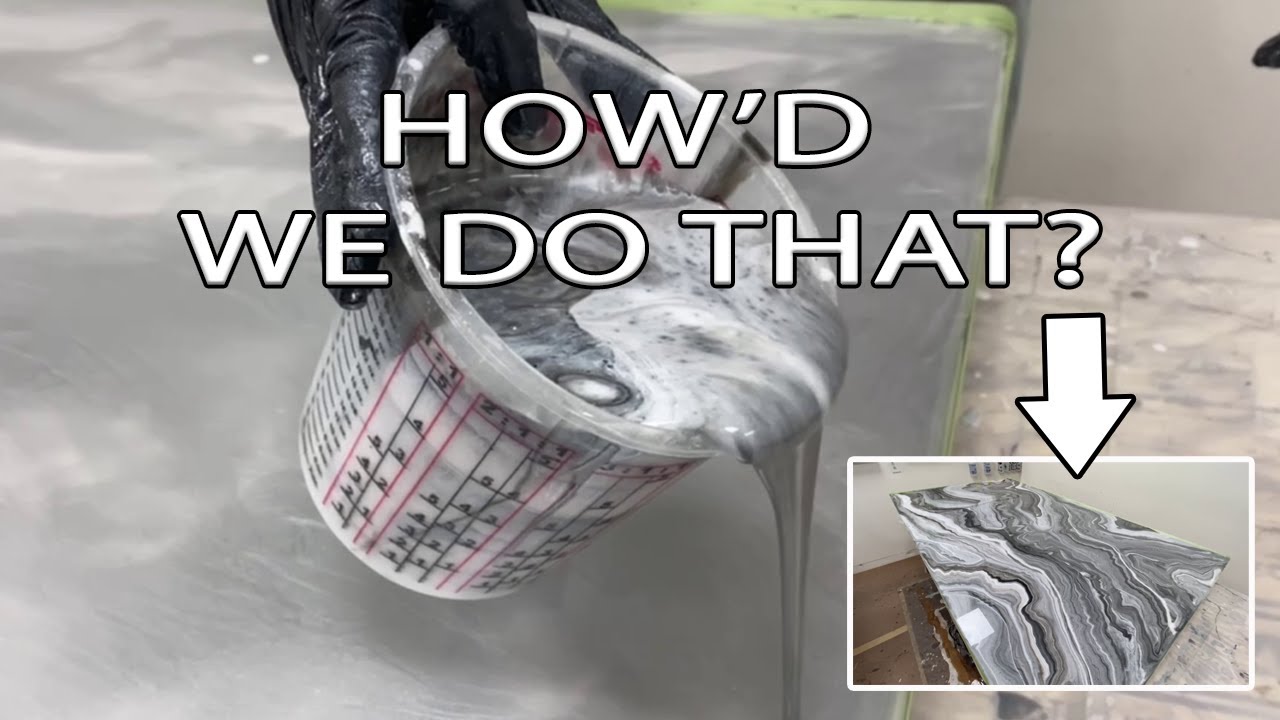
In this in-depth tutorial, Artisan Design Concepts shares how to create her signature Black Agate epoxy countertop design—a dramatic, layered finish that mimics the bold, natural variation of real agate stone. Using a custom blend of whites, blacks, and careful color placement, this pour shows how to create movement, contrast, and depth with confidence.
What You’ll Learn
- Skim coat prep – applying 1 oz per sq. ft. of clear epoxy (Alloy) to seal the surface
- Batch strategy – mixing 448 oz total in smaller 32 oz buckets for control
- 184 oz Alloy, 224 oz white Alumilite dye, 40 oz black Alumilite dye
- Layering technique – pouring colors randomly with white spray paint between layers for stone-like veining
- Pour flow – alternating light and dark buckets to mimic natural variation in stone
- Edge finishing – handling small counters and sink edges for consistent design flow
- Alcohol effect – adding large and small drops of isopropyl alcohol for fractured, organic detail
- Late-stage detailing – using thickened epoxy + spray paint for final texture and custom interest
- Drip bucket method – scooping epoxy runoff into a bucket, adding spray paint, and reusing it for added effects
Why This Design Works
- Bold contrast with black, white, and smoky layers
- Natural depth using color placement and alcohol separation
- Custom every time — no two pours are the same
- Great for kitchens, vanities, bars, and statement pieces
Pro Tips from the Video
- Don’t mix all buckets at once—keep flexibility during the pour
- Torch lightly to pop bubbles—too much heat will erase your design
- Wait 2–3 hours before applying thickened table drips for extra hold
- Flick alcohol by hand for better control over the texture and placement
- Pull tape around 1.5–2 hours for best flow over edges