
What to Know Before You Pour for a Durable, Professional Finish
Introduction
Before you ever mix epoxy or open a jug of PolyKote, the most important step is proper surface prep. Every countertop material requires its own approach to achieve long-term adhesion and a flawless finish.
This guide walks you through:
- How to prep each type of existing countertop
- When and how to repair seams + edges
- The correct process for grout-filled tile counters
- Why EpoxyKote makes the best base layer for PolyKote
- How to pour, scuff, and topcoat correctly
- Silicone removal and other important pro-level tips
Let’s begin where every great countertop transformation starts: the substrate.
SECTION 1 — PREP BY SURFACE TYPE
Laminate / Formica Prep
Laminate is one of the easiest surfaces to pour over, but it still requires proper mechanical prep.
Laminate Prep Steps
- Degloss the entire surface by sanding aggressively.
- 60–80 grit is usually ideal.
- Repair any seams using Bondo.
- Router all 90° edges (top and bottom) to at least ⅛-inch roundover so resin can flow.
- Remove all silicone around backsplashes or sinks.
- Clean thoroughly with water.
- Apply EpoxyKote base coat → allow to cure → scuff → PolyKote color coat → Fortified Topcoat.
Granite / Marble Prep
Stone is dense and polished, so mechanical adhesion is key.
STONE Prep Steps
- Sand the surface with 60–80 grit to break the polish.
- Remove every trace of silicone, especially where backsplash meets counter.
- Router the top and bottom front edges ⅛ inch.
- Wipe down with water only—no solvents that could interfere with adhesion.
- Apply EpoxyKote base → cure → scuff → PolyKote color coat → Fortified Topcoat.
These surfaces pour beautifully once properly scratched and cleaned.
Tile Countertop Prep
Tile requires the most prep, but when done correctly, the final finish is seamless and gorgeous.
TILE Prep Steps
- Clean the surface thoroughly
- Remove any grease, residue, or surface contaminants so the Bondo can adhere properly.
- Fill all grout lines with Bondo
- Mix Bondo according to the manufacturer’s instructions.
- Press it firmly into each grout line, making sure every low spot is completely filled.
- Slightly overfill the lines so you can sand them perfectly flat later.
- Feather the edges
- Use your spreader to smooth the Bondo outward so the seams blend into the surrounding tile.
- Your goal is to eliminate the “dip” created by the grout joints.
- Sand the surface smooth
- Once the Bondo is fully dry:
- Start with 100-grit sandpaper to flatten the filled joints.
- Follow with 220-grit to refine the surface and eliminate transition lines.
- Clean extremely well
- Dust is the enemy of bonding.
- Wipe with water (not solvents)
- Clean until no dust remains
- Allow proper curing
- Even though Bondo sets quickly, allow at least 24 hours before applying your EpoxyKote base coat.
- This ensures everything is fully hardened and stable.
- Router the front edge (⅛-inch minimum)
- Epoxy and PolyKote will not flow over sharp edges without forming thin spots.
- Remove ALL silicone around the sink or backsplash
- Silicone causes adhesion failure with both epoxy and PolyKote, but PolyKote especially.
- Apply EpoxyKote base coat → cure → scuff → PolyKote color coat → Fortified Topcoat
- The EpoxyKote layer creates a smooth, uniform surface that PolyKote bonds to exceptionally well.
Surfaces With Existing No-Drip Edges
No-drip edges create a raised lip designed to stop spills—unfortunately, they also stop resin flow.
Options:
- Cut down or remove the no-drip edge
OR - Build a new edge that resin can flow over naturally
Leaving a raised lip will cause uneven coverage and pooling.
Backsplashes: Horizontal vs. Vertical
To achieve a perfect finish, horizontal pours are always preferred.
Best Practice
Whenever possible:
- Remove the backsplash
- Lay it flat
- Prep + pour horizontally
- Reinstall after the finish cures
Why not pour vertically?
Vertical surfaces are possible to coat, but not recommended because:
- Resin will naturally run down the face
- Material pools at the bottom
- You’ll lose your design
- You won’t get enough thickness on the surface
- You often get streaking or bare spots
For best results, always handle backsplashes horizontally.
Critical Prep Steps That Apply to ALL Surfaces
Regardless of the countertop material, these steps are non-negotiable.
1. Eliminate ALL Silicone — No Exceptions
This is one of the most important steps.
- Epoxy does not like silicone
- PolyKote REALLY doesn’t like silicone
Even microscopic residue can cause:
- fisheyes
- craters
- peeling
- adhesion failure
Silicone is commonly found:
- where backsplashes meet countertops
- around sinks
- around faucet bases
- along seam lines on older counters
Even after scraping it off, residue remains. This is one major reason we use EpoxyKote as the base layer—it gives PolyKote a perfect surface to bond to.
2. Repair Any Seams with Bondo
Any joints, seams, or depressions must be filled and smoothed using Bondo.
No resin system fills seams completely or permanently unless they are properly repaired beforehand. Seams must be level or they will telegraph through the finished surface.
3. Router All Exposed Edges
Epoxy and PolyKote cannot flow over sharp 90° edges.
Router top and bottom edges (and sink openings) to:
- create better flow
- prevent thin spots
- allow resin to wrap underneath
- reduce chipping later
Minimum: ⅛-inch roundover and be sure to rub your resin material underneath the counter to encapsulate it fully.
4. Always Remove the Sink & Faucet
Don’t try to tape around them.
Remove:
- sink
- faucet
- soap dispensers
Then router the sink opening for the same reason—resin needs a smooth edge to flow over.
SECTION 2— Preparing the Surrounding Area Before You Pour
Proper countertop prep doesn’t stop at the surface you’re pouring on. Protecting the surrounding flooring, cabinetry, appliances, and walk paths is just as important as prepping the substrate itself. Resin is sneaky—if it can find a gap, it will find a gap. And if the area isn’t sealed correctly, you may end up replacing more than just your countertops.
Here’s how to prep the workspace the right way:
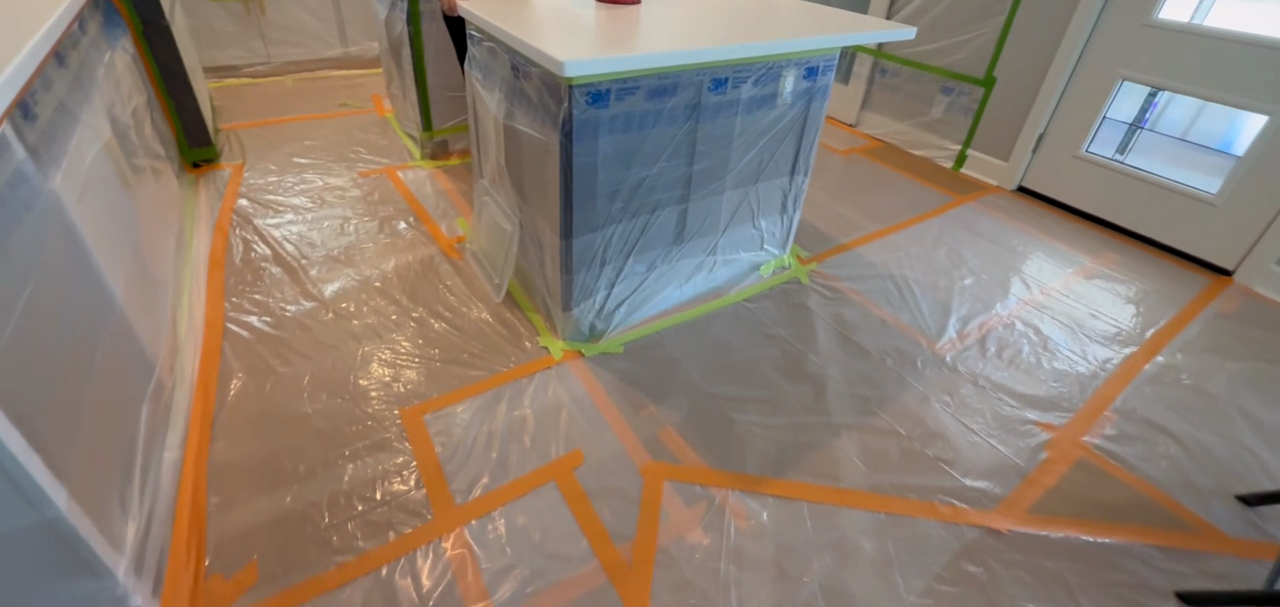
1. Protect All Flooring (Not Just Near the Counters)
Before you begin any mixing or pouring:
- Lay down Ram Board or similar floor protection followed by plastic sheeting so no resin leaks through.
- Cover all flooring near the counters AND
- Create a protected pathway from your mixing area to the pour area.
- Any place you’ll walk with mixed resin needs to be covered.
This ensures drips or spills won’t damage floors and gives you a stable, safe surface to work on.
2. Tape the Cabinets Properly
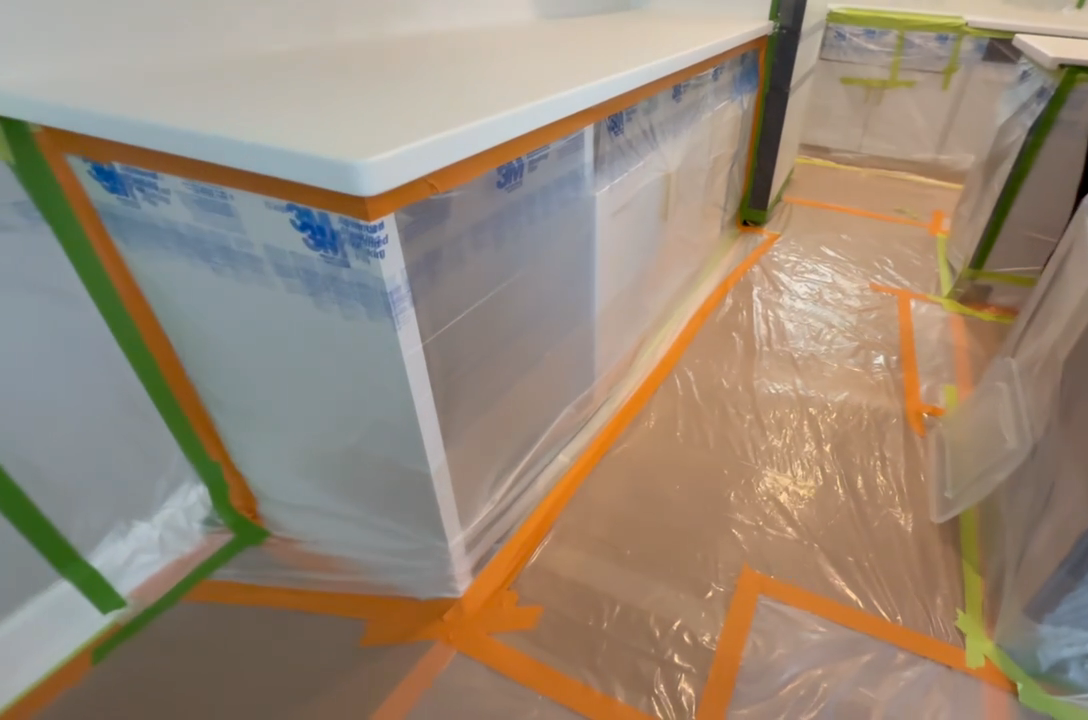
The cabinetry needs a multi-layer protection system.
Step One – Blue Painter’s Tape
Remove all top drawers and then apply a clean line of blue painter’s tape directly underneath the countertop edge, where the counter meets the cabinet faces.
This does two things:
- Creates the first barrier
- Prevents strong tape from damaging cabinet finishes
Step Two – Plastic Sheeting & REINFORCED TAPE LAYER
Attach plastic sheeting to the blue tape using green or orange tape (both much stronger) to tape the plastic sheeting directly to the blue tape, not to the cabinets.
- Overlap the stronger tape onto the blue tape by about ½ inch.
- This keeps everything sealed tight.
- Add additional layers of tape if needed.
Resin loves to leak behind improperly taped cabinets, so layered protection is non-negotiable.
3. Prep the Sink, Faucet, and Dishwasher Area
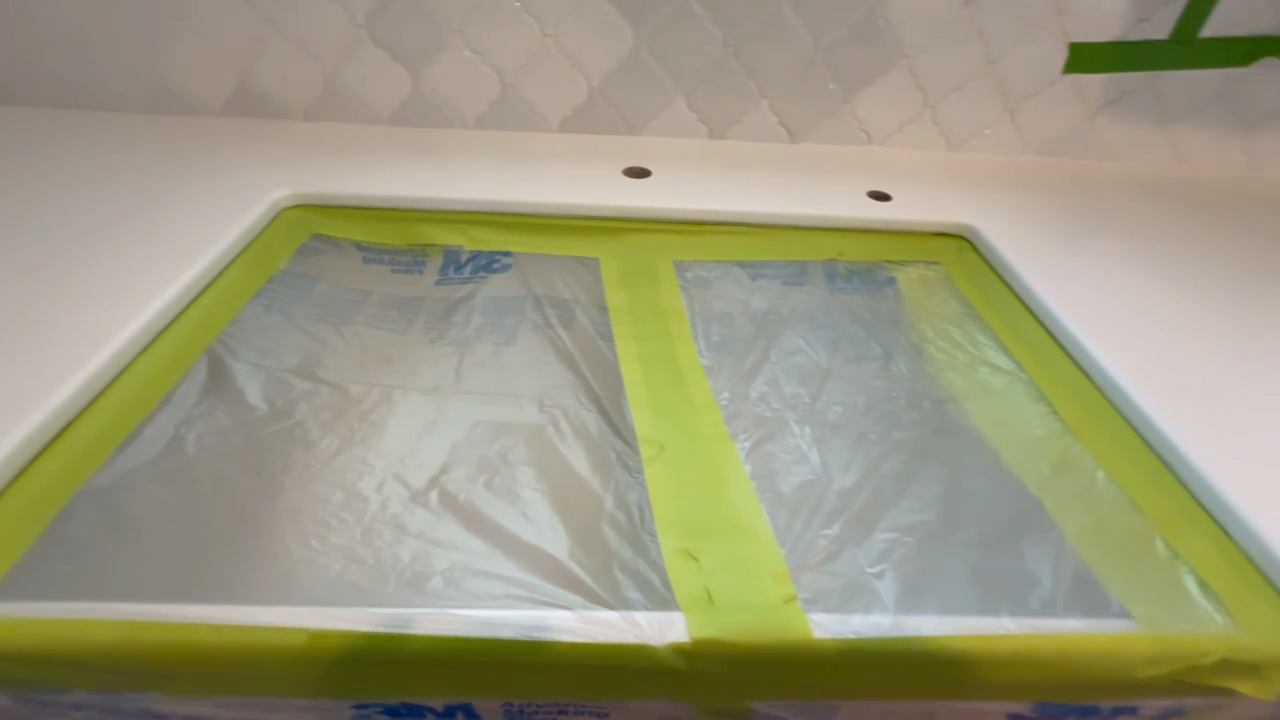
Before pouring:
- Remove the sink and faucet entirely
- Plastic off the sink opening
- Plastic off the faucet holes
- Pull the dishwasher out slightly and tape around the opening
This prevents resin from running into appliance gaps or dripping inside openings where it’s nearly impossible to remove.
4. Seal Every Potential Drip Zone
Any gap—even a tiny pinhole—is an opportunity for resin to escape.
- Double-check edges
- Reinforce tape layers
- Press down all seams tightly
- Add backup layers anywhere the resin might travel
This level of prep is what separates a professional job from a disaster cleanup.
5. “The More Prep, the Better” Rule
When in doubt, over-prep.
In resin work, prevention is everything.
Protecting your surroundings ensures:
- No cabinet damage
- No flooring damage
- No resin under appliances
- No expensive repairs
- A stress-free pour
Because once resin flows, it flows wherever gravity takes it.
SECTION 3 — POURING, TIMING & TOPCOAT PROCESS
Now that the surface is fully prepped, here’s how to pour and finish the project correctly.
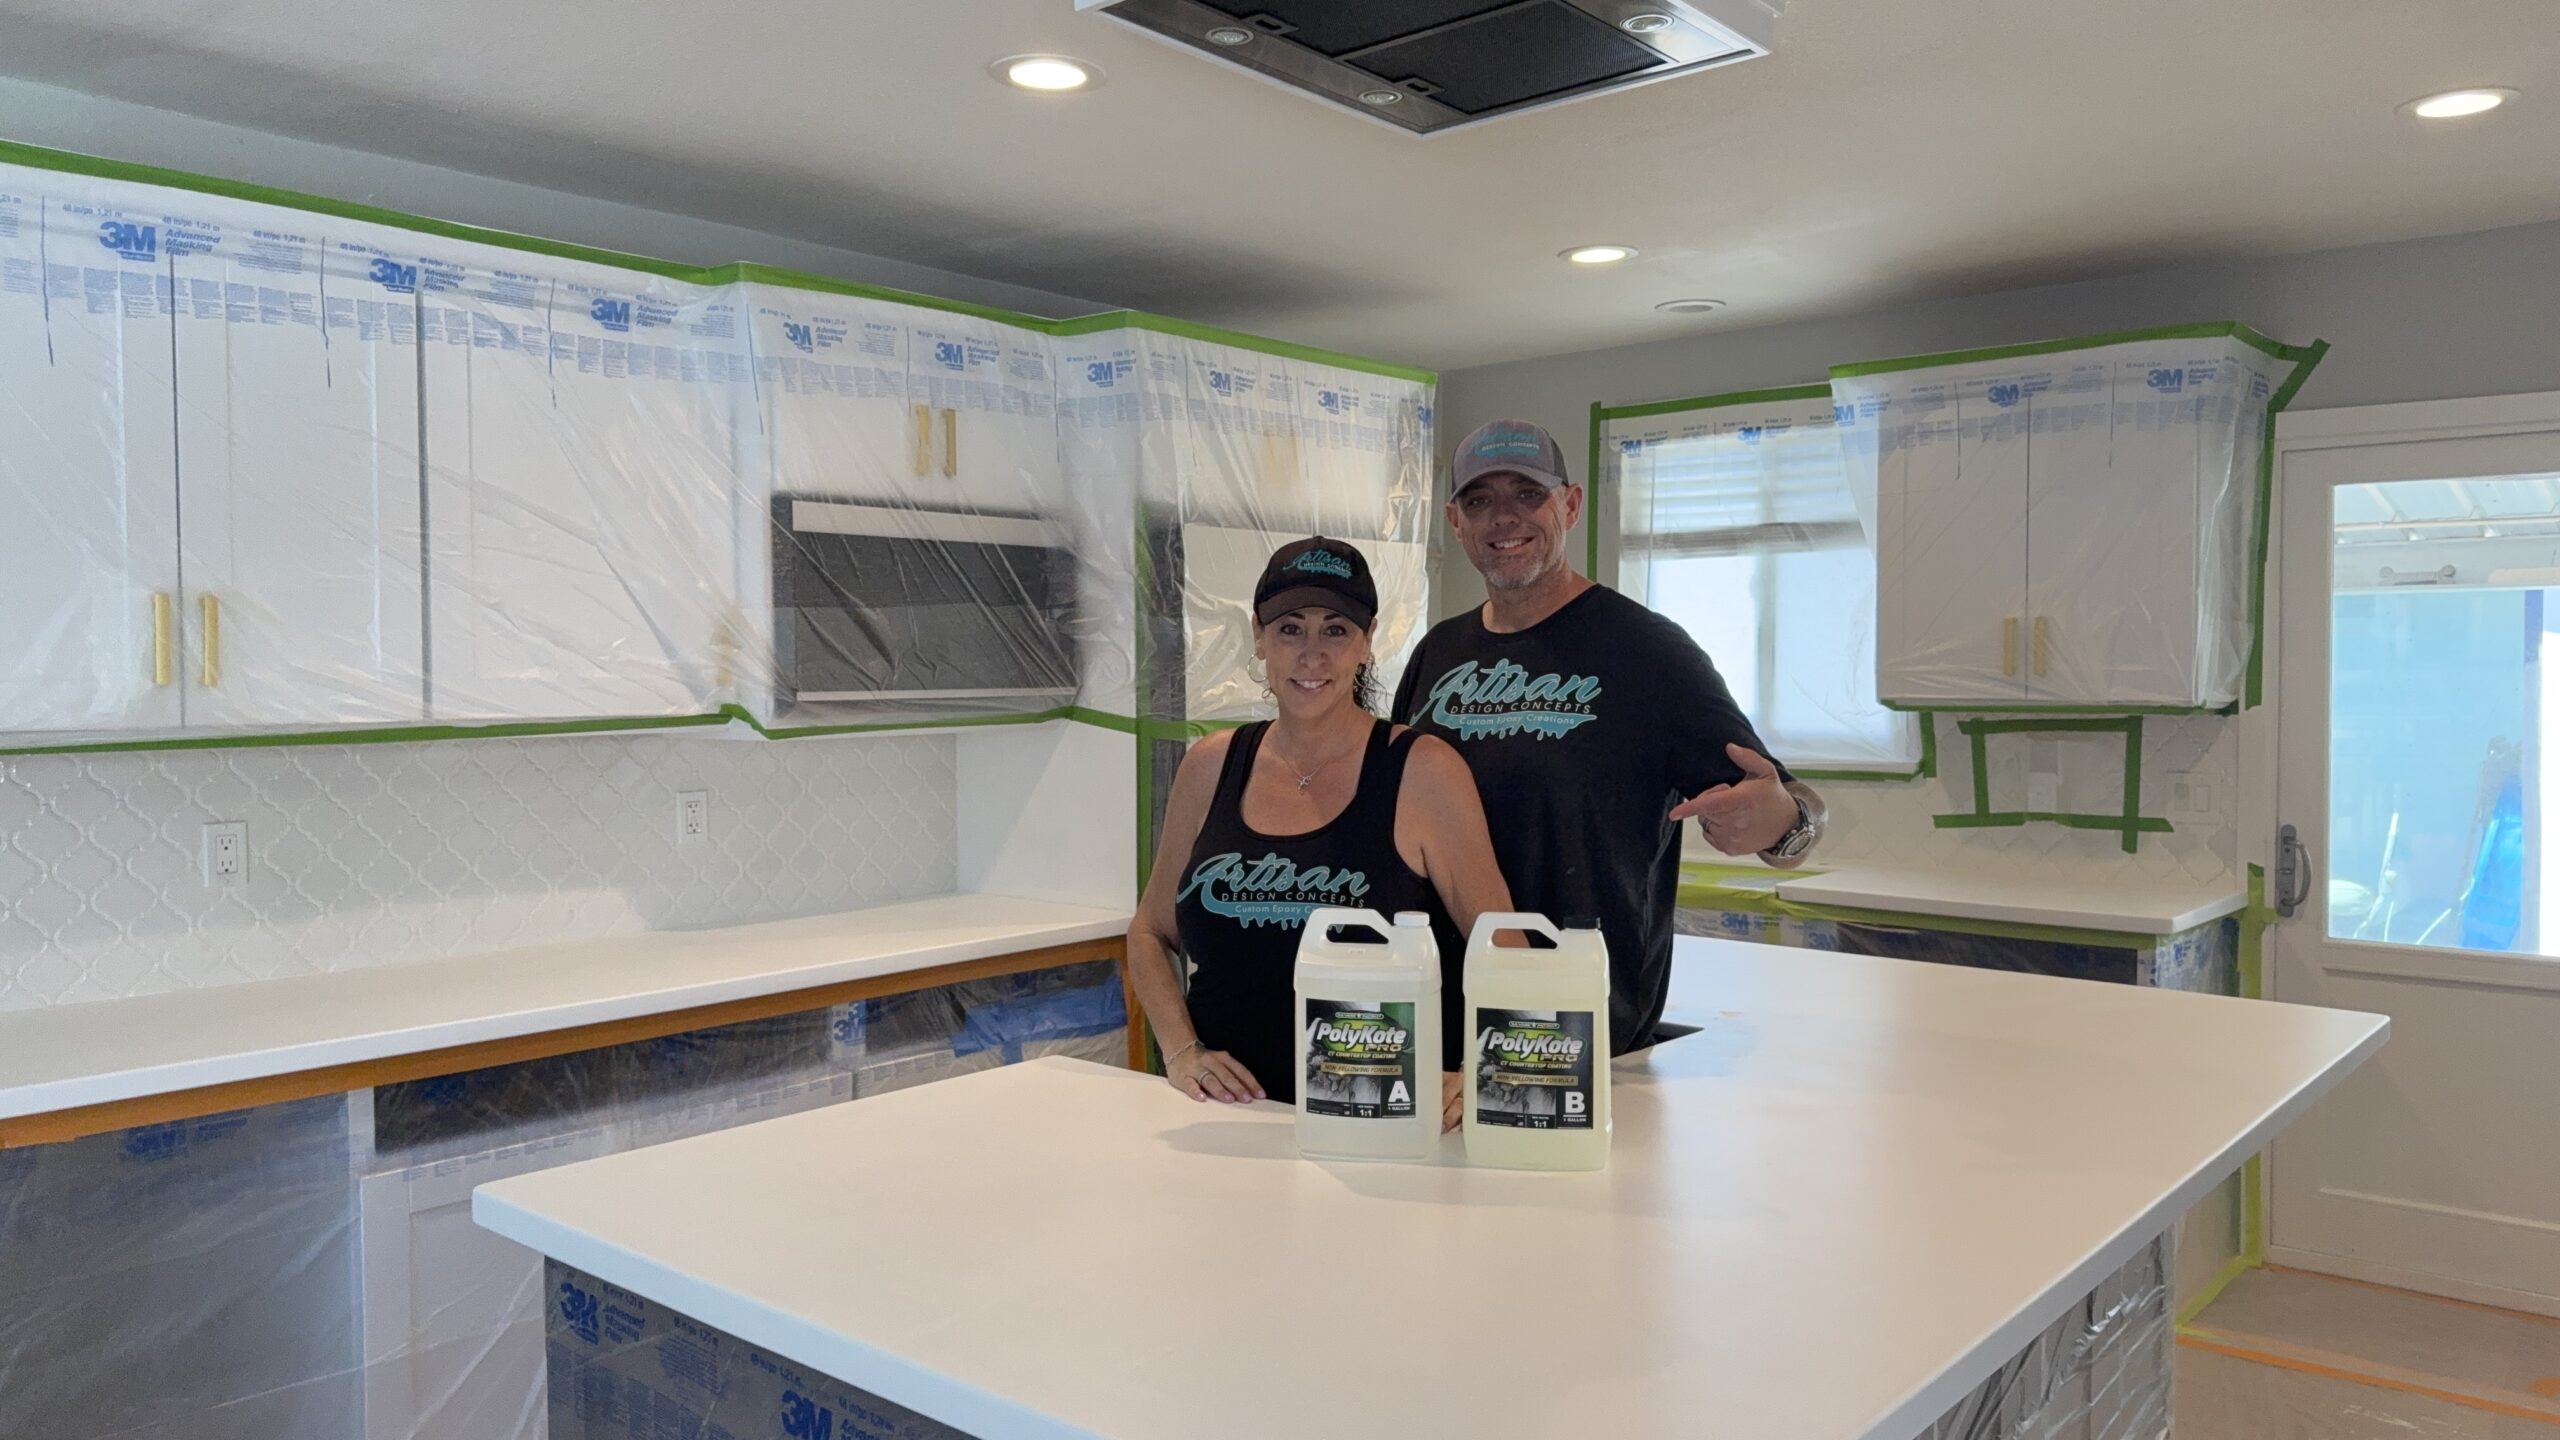
Why We Pour EpoxyKote First When Using PolyKote
Through extensive real-world testing, we’ve found:
PolyKote bonds exceptionally well to EpoxyKote as the base coat.
PolyKote is incredibly strong but extremely picky about contaminated surfaces—especially silicone. Using EpoxyKote as the first layer gives you a clean, uniform, and highly bondable foundation.
Recommended Method:
- After all prep, pour EpoxyKote at 3 oz/sq ft
- Clear or tinted but tinted will help your edges look their best before your color coat.
- Let cure 24 hours
- Scuff sand with 220 grit to create a mechanical bond
- Clean with water and a rag and dry wipe a few times to ensure no residual dust remains
- Pour your PolyKote color coat as usual
This gives you the strongest, most reliable adhesion system possible.
Timing Between Color Coat & Topcoat
Temperature and humidity affect curing.
General guideline:
- In ideal conditions: next-day topcoat application is possible
- Depending on your temperature and humidity you may need to wait a day between the color coat and topcoat
- Always test hardness—if it fingerprints easy, it’s not ready to sand
If You Are Top-coating Directly Over the Color Layer
You must:
- Sand the surface using 320-grit
- Wipe down with water only (no alcohol, no solvents)
- Repeat until all dust is removed
- Apply Fortified TopCoat from Savage Patriot Polymers
Dust is one of the leading causes of topcoat flaws. Cleanliness is critical.
Final Thoughts
Pouring EpoxyKote or PolyKote over existing countertops is an amazing way to refresh a kitchen or bathroom—but only when each substrate is prepared correctly. Every surface requires its own prep method, and every step matters.
From removing silicone to rounding edges, filling grout lines, choosing the right base coat, and knowing when to topcoat, this process is what ensures long-lasting beauty and performance.
If you enjoy learning about EpoxyKote and PolyKote as much as we love teaching it, make sure you subscribe to our YouTube channel. We’re constantly uploading new pours, prep demonstrations, problem-solving videos, and real-life project walk-throughs from our shop and client homes. Come learn with us, get inspired, and follow along on our journey. http://www.youtube.com/artisandesignconcepts
And if you’re local to the Coachella Valley and you love watching epoxy projects way more than you love actually doing epoxy projects… give us a call!
We handle everything—from prep to pouring to cleanup—so you can enjoy gorgeous new countertops without the mess, stress, or learning curve. Whether you’re a homeowner or a business owner, Artisan Design Concepts is here to make the transformation easy, professional, and absolutely beautiful.