
Everything You Need to Know About Choosing, Pouring, and Protecting Your Surfaces with Savage Patriot Polymers

When people reach out to ask which resin I’m currently recommending, I don’t hesitate: PolyKote from Savage Patriot Polymers. But I always follow that up with a piece of advice I live by: Try it for yourself on a sample board first. Every artist has a different “feel” for material, and PolyKote isn’t your traditional epoxy. It’s a different beast entirely, and once you understand how it moves, you won’t want to go back.
Because I get so many questions about the “how” and “why” of this system, I’ve put together this comprehensive FAQ to help you navigate your next pour like a pro.
What exactly is PolyKote and how long has it been around?
PolyKote lauched in April 2024 after extensive testing was completed. PolyKote is a hybrid resin system specifically engineered to be non-yellowing. Unlike traditional epoxies that can amber over time, this was designed for long-term clarity. It comes in two distinct formulas—Pro and Enhanced—and choosing the right one depends entirely on the “look” you’re going for and how you like to work.
PolyKote vs. Traditional Epoxy: What’s the Difference?
If you’ve been in the industry for a while, you’re used to the pros and cons of traditional epoxy. While epoxy is great for adhesion, PolyKote is essentially the “next generation” of coating technology. Here is how they stack up:
- UV Stability: This is the big one. Standard epoxy is notorious for yellowing and “chalking” over time when exposed to sunlight. PolyKote is an aliphatic system, meaning it’s engineered for long-term clarity and color stability. It won’t amber on you.
- Flexibility & Durability: Epoxy is hard but can be brittle, sometimes cracking under thermal expansion (temperature swings). PolyKote has superior flexibility and impact tolerance, so it moves with the surface rather than cracking.
- Cure Time: Epoxy can take days to fully harden. PolyKote features advanced cross-linking technology that allows it to cure much faster.
- Weather Resistance: Because of its advanced chemistry, PolyKote is weatherproof and handles environmental stress far better than epoxy ever could.
The Bottom Line: PolyKote isn’t just an alternative; it’s an evolution. It takes the best parts of epoxy and fixes the weaknesses—specifically brittleness and UV sensitivity.
Is PolyKote a Polyaspartic?
This is a common misconception since the name starts with Poly. The short answer is no. While PolyKote does have a polyaspartic component, it is a specialized blend. We’ve all used straight polyaspartics that set up way too fast or have a watery viscosity that’s hard to control. PolyKote is blended with other components to give us a manageable working time, a specific viscosity, and that high-end “artistic” look that straight polyaspartic just can’t achieve.
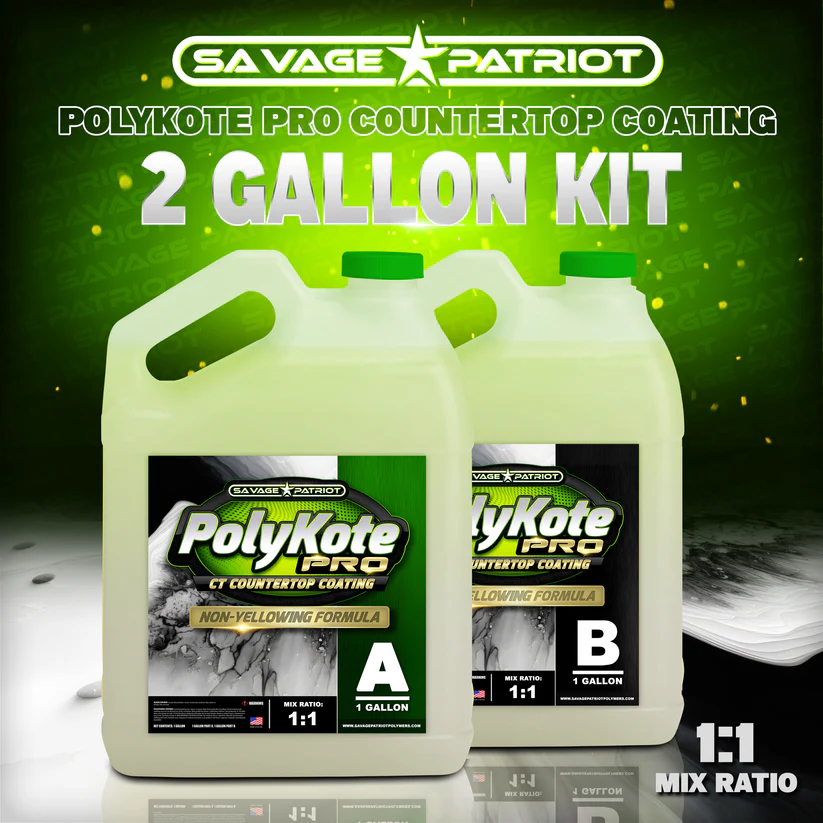
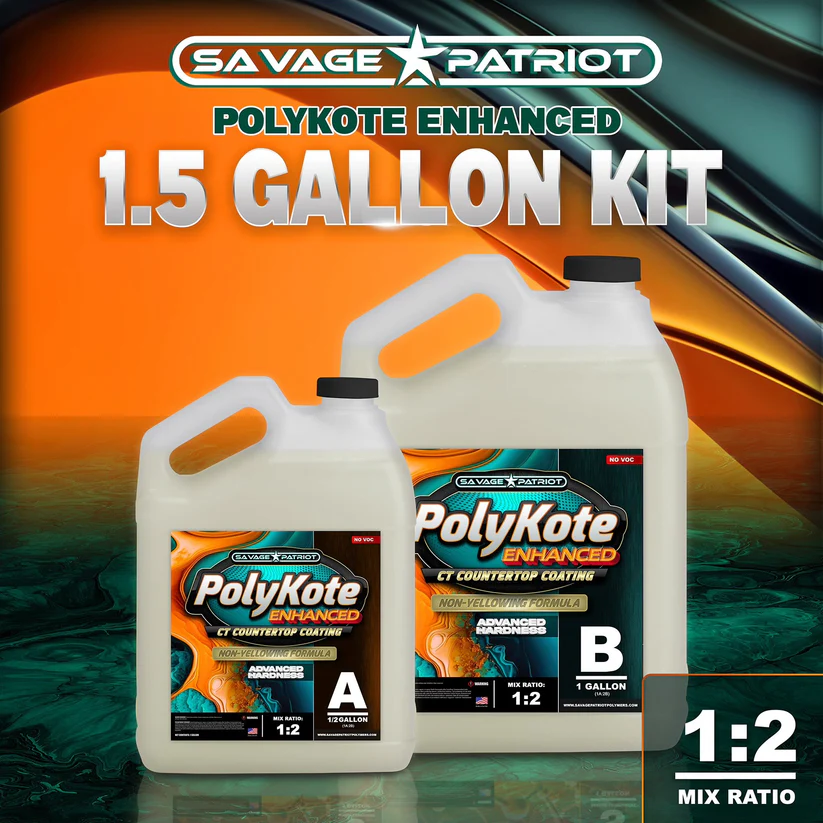
PolyKote Pro vs. PolyKote Enhanced: Which one do I need?
I look at these as two different tools in the toolbox. Both have a working time of about 35–40 minutes, but they behave very differently:
- PolyKote Pro: This is personally my favorite. It has a thinner viscosity, which means it moves and self-levels like a dream. The best part? No torching required. If you’re doing high-movement “exotic” styles where you want colors to flow into each other, this is the one. Note: It does have an odor, so make sure your workspace is ventilated.
- PolyKote Enhanced: If you’re coming from a traditional epoxy background, this will feel more familiar. It’s a thicker, heavier-bodied resin with virtually no smell. Unlike the Pro version, you do need to torch it (I recommend 3 times in 10-minute increments) to release bubbles.
Temperature and Humidity: The “Make or Break” Factors
PolyKote is a professional-grade product, which means it’s sensitive to its environment.
- Ideal Temp: 70–74 degrees Fahrenheit.
- Ideal Humidity: 30–50% relative humidity.
If you see “rippling” or “crinkling” in your finish, 99% of the time you are looking at a humidity or surface moisture issue. Keep a hygrometer in your shop; it’s the cheapest insurance policy you can buy.
Color Additives: What works and what doesn’t?
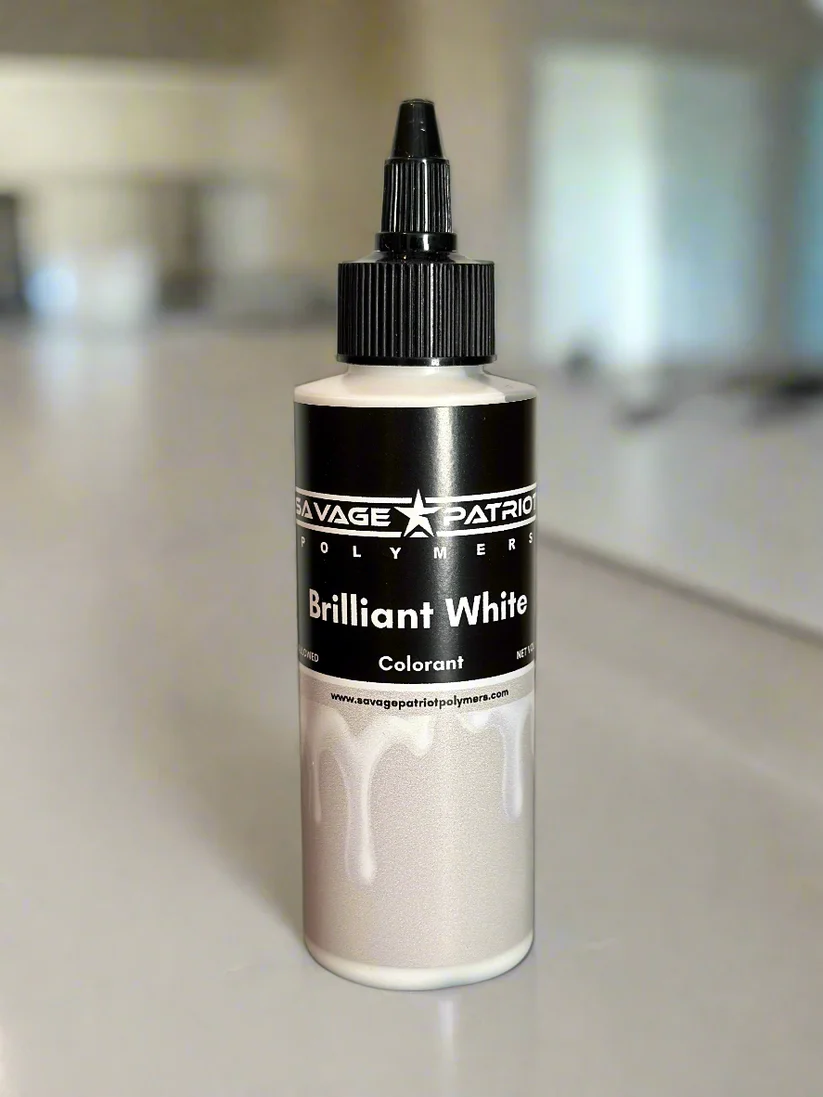
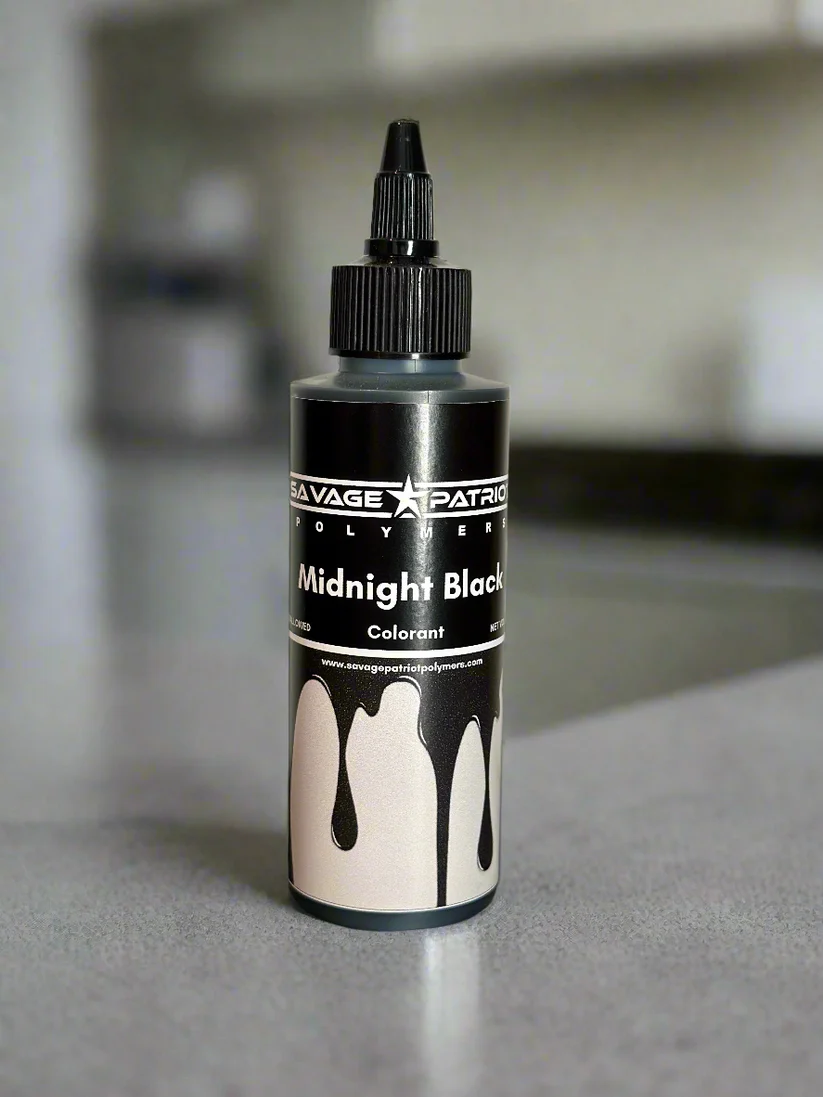
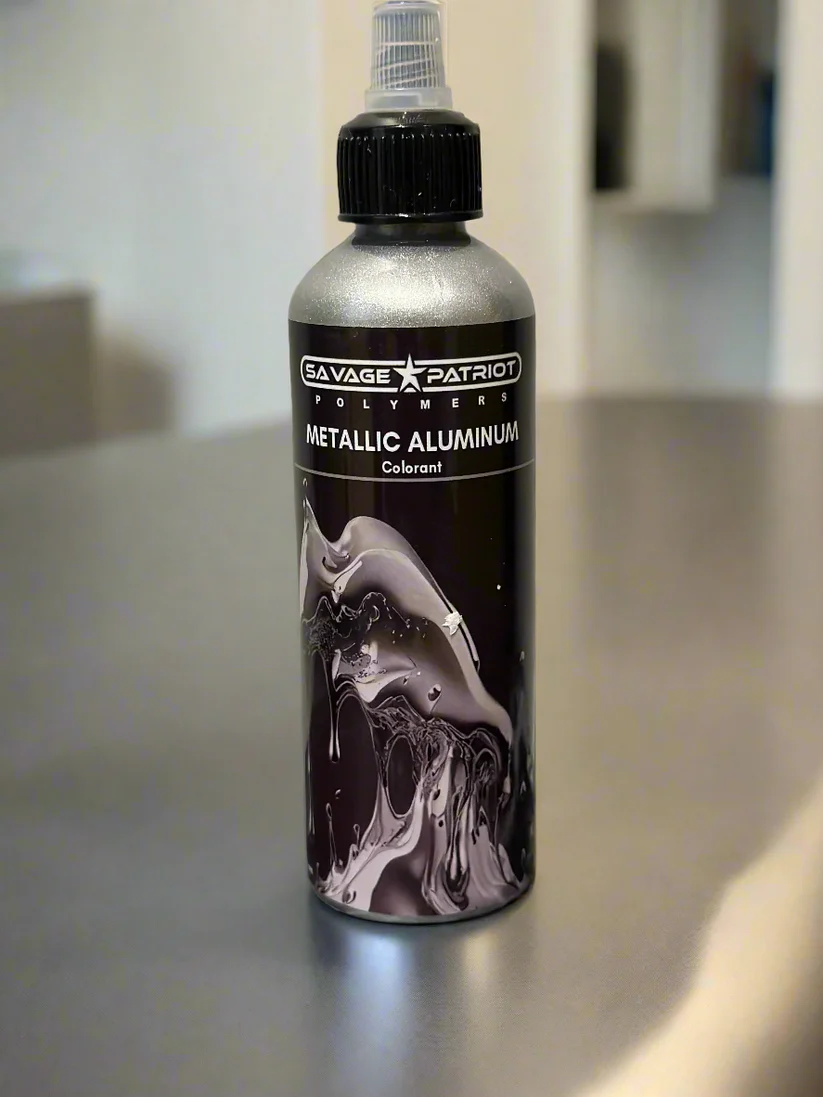
You can use almost any additive made for resin—mica powders, liquid dyes, and pastes are all fair game. The Brilliant White, Midnight Black and Aluminum are my three favorite Liquid Tints!
However, follow these “Golden Rules”:
- Mixing: If you’re using heavy pastes, spend a little extra time mixing to ensure it’s fully integrated.
- The 10% Rule: Stay between 2–5% pigment by volume. Never exceed 10%, or you risk a “soft cure” that never fully hardens.
- Spray Paint: Generally, avoid it. I’ve had success with metallic gold spray paint on the surface because it reacts differently, but standard spray paints can mess with the chemistry so limit their use.
- UV Stability: Even though PolyKote has UV stabilizers, if your pigment isn’t UV-stable, your project can still amber. Always use high-quality, UV-stable tints.
Can I use Alcohol for effects?
No. PolyKote is hydrophobic. Since alcohol contains a percentage of water, the two will repel each other and ruin your finish. Stick to resin-compatible dyes for your effects. That being said, the Brilliant White Liquid Pigment from Savage Patriot Polymers creates the “celling” effect that most people love!
The “Dirty Pour” and Taping Edges
If you love a dirty pour or an exotic bucket pour, you must use PolyKote Enhanced. The Pro version is too thin; the colors will just muddy together in the bucket. However, I am able to create a very similar exotic pour look using PolyKote Pro and a roller or a bondo spreader.
Pro Tip on Edges: You actually don’t need to tape your edges with PolyKote. Because it sets up faster than epoxy, it stays where you put it much better. I prefer to let it flow naturally. Just remember to work your edges early in the pour and to keep your coverage around 4oz per square foot—that’s the “sweet spot”.
When do I need a Clear Flood Coat?
I don’t always do a clear flood coat, but there are times when it’s a lifesaver. If I need a flood coat, I ALWAYS use PolyKote Enhanced. * Why not Pro? If you use Pro as a clear coat, it can sometimes look “foggy” or camouflage the shimmer of your micas. Enhanced stays crystal clear and lays out flat.
- You need a flood coat if: Your color coat has imperfections, you used metallic spray paint (which you need to “lock in” within 16–18 hours before sanding), or you simply want more visual depth and dimension.
Can PolyKote be used on floors?
I get this one a lot because the finish is so beautiful, but the answer is a firm no.
PolyKote was engineered specifically as a countertop product with a strict maximum coverage of 4–5oz per square foot. If you’ve ever done a metallic floor, you know that you need to be able to pour the material much thicker to get those big, dramatic flows and movements.
If you try to “over-pour” PolyKote to get that floor-style movement, you’re going to run into major curing issues. It simply wasn’t designed to be poured at that depth. For floors, you want a product built for volume; for countertops where you want precision and UV stability, PolyKote is your winner.
What is the process for pouring over existing yellowed countertops?
If you’re dealing with an old, yellowed epoxy surface, you have to prep it correctly or your new coat won’t stick. Just because it’s dry doesn’t mean it’s ready for more product. The Prep: First, you must sand off any existing topcoat using 80 or 100 grit sandpaper. Once that’s gone, sand the epoxy surface itself with 220 grit to give the new PolyKote something to “bite” into.
From there, you have two choices:
- Option 1: The Total Reset. Apply a bonding primer, followed by a paint/primer combo in your chosen base color. Wait 24 hours for that to fully dry before pouring your PolyKote color coat.
- Option 2: The Direct Pour. Since PolyKote bonds incredibly well to epoxy, you can skip the primers and pour directly over the sanded surface.
Pro Tip for Option 2: If you don’t want the old pattern or yellowing to ghost through your new design, I highly suggest using spray paint to “fog” the edges and the top first. Also, make sure your tints are very opaque; if your colors are too transparent, that old yellowing will show right through your hard work.
The choice is yours—just don’t skip the sanding! Here’s a video tutorial on this process: Pouring over Yellowed Epoxy (Video)
What is the process for pouring over existing countertops like laminate or granite?
Prepping natural stone or laminate requires a specific set of steps to ensure a permanent bond, so we’ve created a complete, step-by-step guide to help you tackle those surfaces with confidence.
Check out our full tutorial here: How to Prep Existing Countertops (Blog)
The Primer & Paint Rules: What Works (and What Will Fail)
We get a lot of questions about primers and I need to be 100% clear: The wrong primer will cause your PolyKote to fail. Even if it feels dry, the chemistry underneath can repel your pour or cause delamination.
The “Do Not Use” List
Avoid any urethane-modified or siliconized acrylic primers and paints. These additives are designed to repel things—and they will repel your PolyKote.
- XIM’s UMA Bonding Primer: Contains urethane modifiers that will prevent adhesion.
- StoneCoat’s Undercoat: This contains silicone. While some people get lucky, many others report delamination. We suspect the fast 4-hour recoat time doesn’t allow for proper off-gassing, leading to big issues down the road.
The “Pro-Approved” List
Here is exactly what we use to get a bulletproof bond:
- The Best Option: Use EpoxyKote or PolyKote as your primer. It bonds to itself better than anything else. If you’ve prepped the surface correctly, using a thin layer of PolyKote as your base is the safest bet.
- For MDF: Use Behr Premium Plus Paint & Primer in One (Satin finish, Teal label). Apply two coats, let it off-gas for 24 hours, then lightly scuff with 220-grit before pouring.
- For Laminate/Existing Surfaces: Use EpoxyKote as your primer and then scuff with 220-grit.
- For Extira Waterproof MDF or Foam Panel (Shower Panels): Use EpoxyKote as your primer. Extira is notoriously difficult, and EpoxyKote is one of the few things that truly bites into it.
Final Takeaway: Always read your labels! If it says “urethane” or “silicone” on the can, put it back on the shelf.
The Topcoat Question: Is it mandatory?
Yes. All PolyKote products require a protective topcoat.
Because of the way the material polymerizes, you might notice minor “orange peel” or tiny micro-crystal textures as it cures. Don’t panic—that’s normal. A light sanding followed by a topcoat smooths everything out and provides the actual wear layer for the surface. My go-to is Fortified Topcoat (FTC) for the best durability.
PolyKote Quick Reference: The Dos & Don’ts
| Feature | PolyKote Pro | PolyKote Enhanced |
| Best For | High movement, artistic flows | “Dirty” pours, thick-body feel |
| Viscosity | Thin & self-leveling | Thicker (Epoxy-like) |
| Torching | Not required | Required (3x in 10-min intervals) |
| Odor | Some odor (Ventilate!) | Virtually odorless |
| Dirty Pours? | ❌ No (Colors will muddy) | ✅ Yes |
| Floors? | ❌ No | ❌ No |
| Topcoat? | ✅ Mandatory (FTC) | ✅ Mandatory (FTC) |
| Alcohol? | ❌ Never | ❌ Never |
All About Fortified Topcoat (FTC)
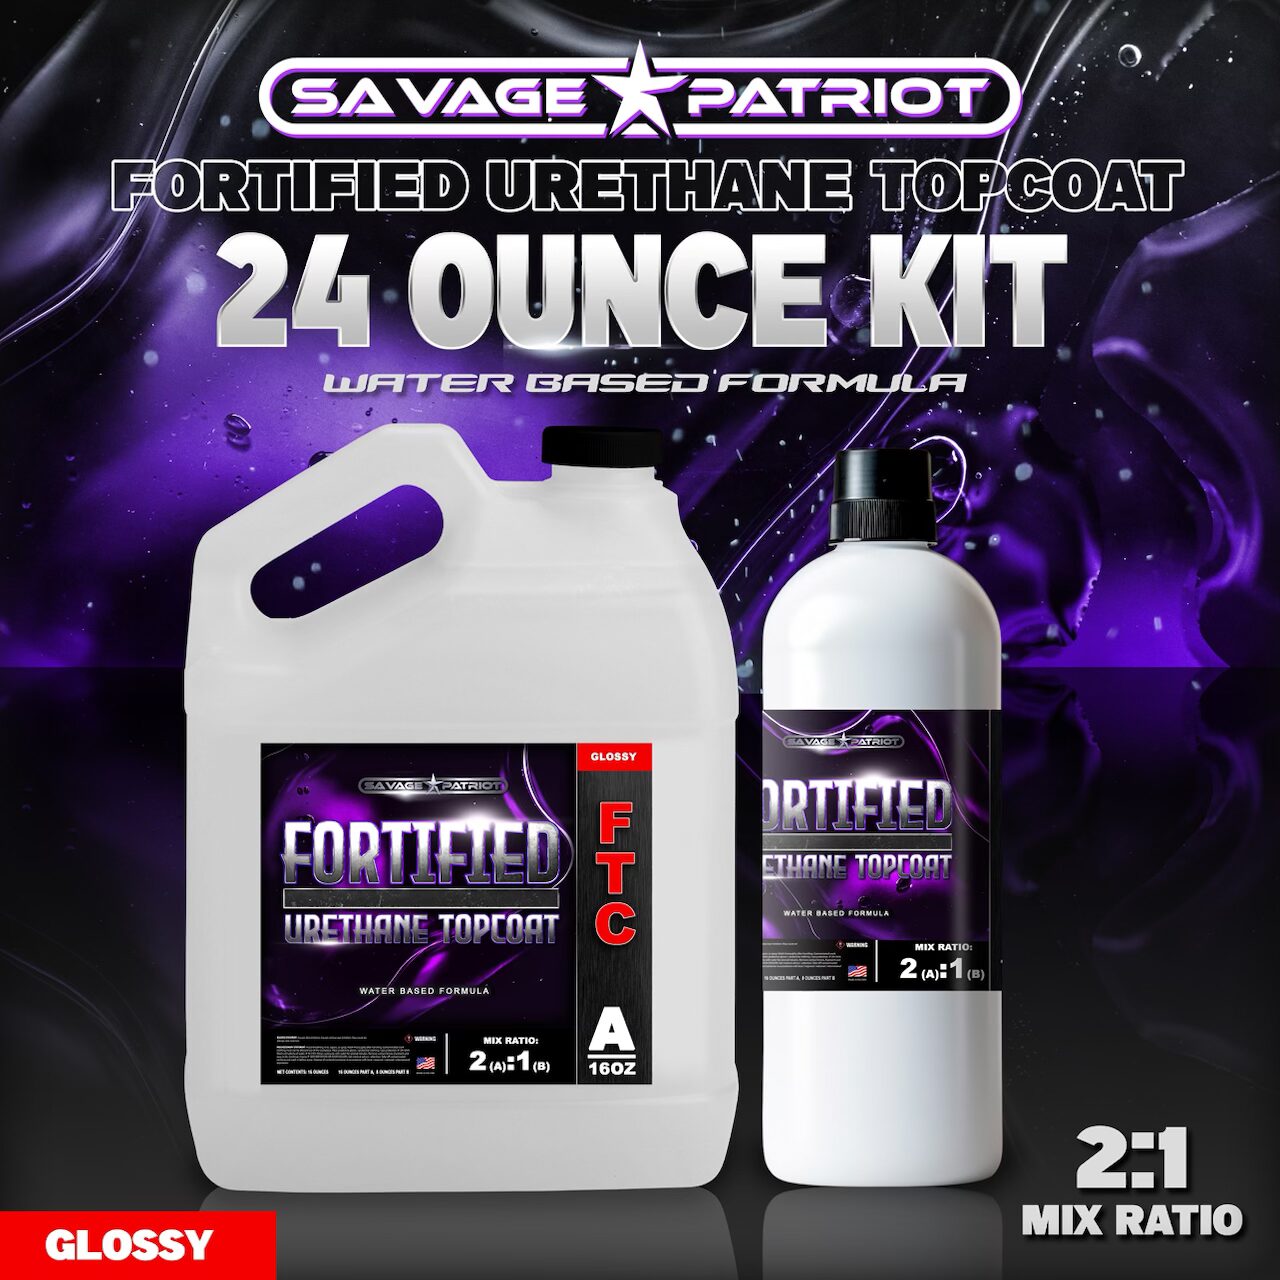
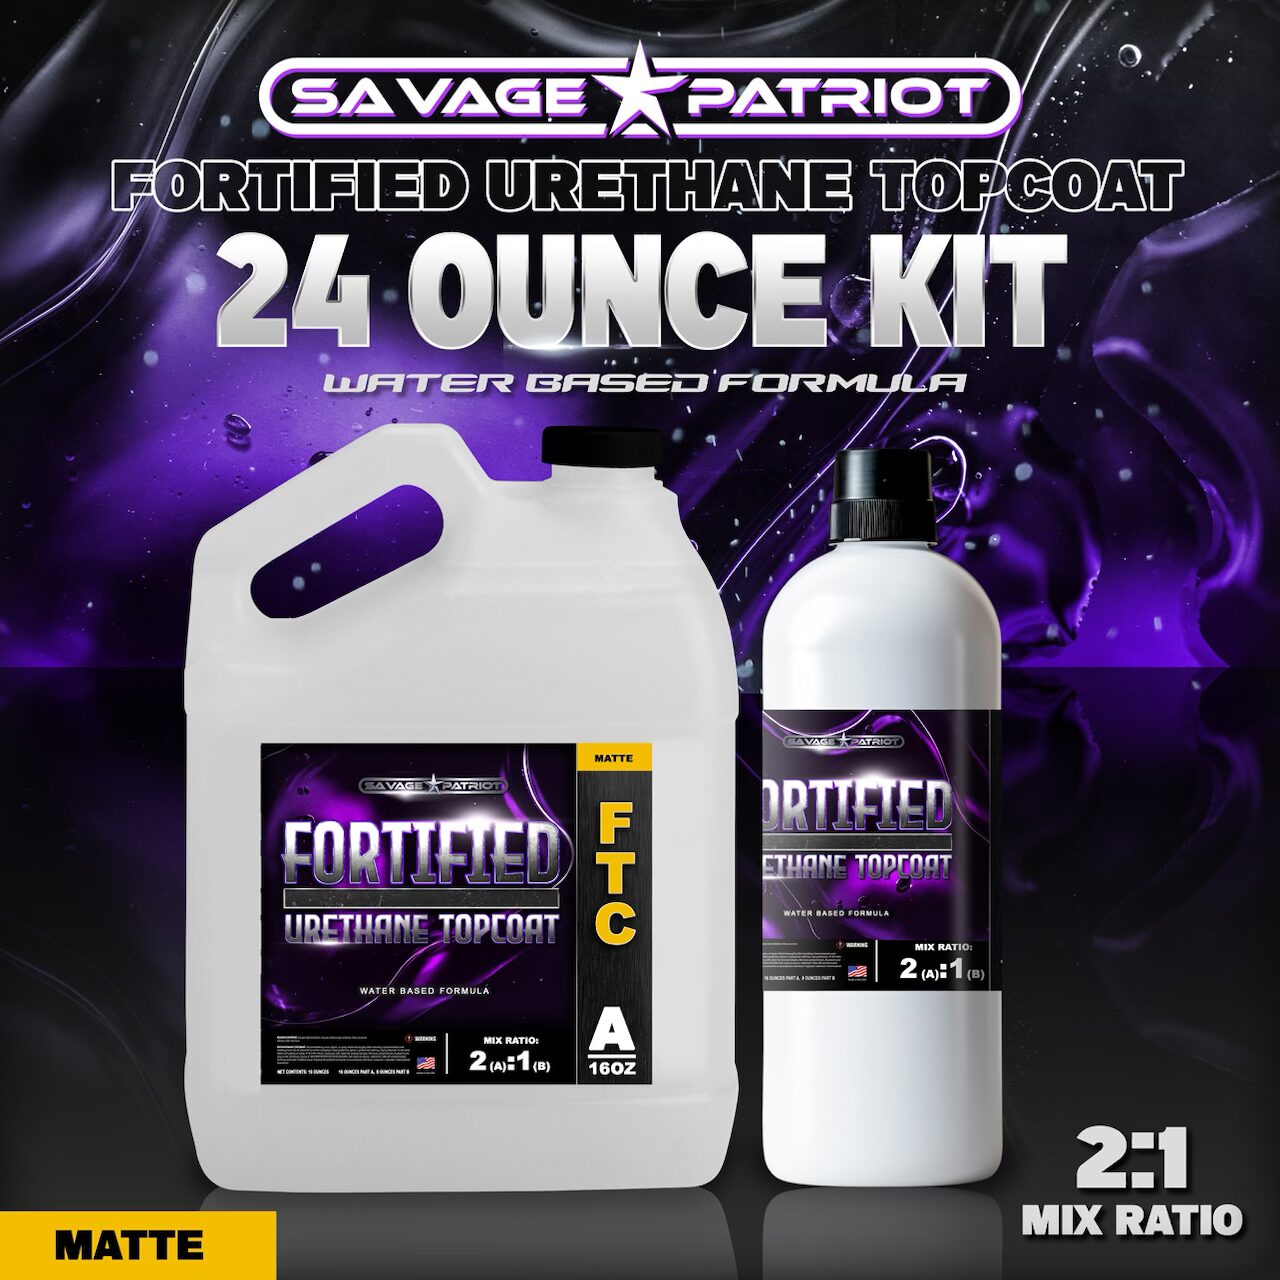
Fortified Topcoat is a hybrid urethane topcoat that is honestly easier to apply than almost anything else on the market.
The Prep Process (Don’t skip steps!):
- Sand: Use 220 grit on an orbital sander. Be gentle on the edges and corners!
- Fine Sand: I like to follow up with 320 grit for a buttery smooth finish.
- Clean: Wipe with water and a microfiber towel at least 3 times.
- Dry Wipe: Use a blue shop towel to catch every last speck of dust. Note: Only use alcohol to clean if the PolyKote has cured for at least 48 hours. If you do it sooner, the alcohol can re-emulsify the resin and make it sticky.
The Mix & Application:
- Ratio: 2 parts A to 1 part B.
- Strain it: If you are using the Matte sheen, use the provided strainer for Component A (the matte) to catch any tiny particles that may have settled.
- The Recipe: Multiply your total square footage by 0.375 to get the total ounces needed and then round up. We like to mix more than we need to have enough to prime our rollers. Better to have too much than not enough!
- Rolling: Use a 3/8″ nap roller. After the initial roll, immediately “back roll” with a wet or dry roller once or twice to achieve that perfect leather-type finish. Depending on the size of the counter you may even back roll 4 or 5 times depending on the finish you like. With the gloss version, I like a tighter stipple for added durability so I roll a bit extra.
- Ideal Temp: 70–74 degrees Fahrenheit.
- Ideal Humidity: 30–50% relative humidity.
Drying vs. Curing: Don’t Rush the Process
One of the biggest mistakes you can make is assuming that because a surface feels “hard,” it’s ready for a dinner party. Just because it’s dry doesn’t mean it’s ready.
Depending on your local temperature and humidity, you can usually sand your PolyKote after 24 hours. In our climate, we typically like to give it a full day between the final color coat and the topcoat application.
Once the Fortified Topcoat is on, here is your timeline for success:
- Dry to touch: ~24 hours (Keep in mind: if your shop is cold, this will take longer).
- Functional Use: 3–7 days (Light use only—don’t drag heavy items across it).
- Chemical Resistance: 7–14 days (This is when it can finally handle cleaners).
- Full Cure: 30 days (The “Total Crosslink” phase).
Pro Tip: Placing heavy appliance on the surface before that 7-day mark is a recipe for permanent indentations. Give the chemistry time to work! That being said, we typically install our finished surfaces 24-48 hours after topcoat has been applied. 48 hours is ideal, but 24 hours is possible when needed.
Shelf Life Warning
Unlike the PolyKote products that can sit on your shelf for a year, Fortified Urethane Topcoat has a shelf life of 1.5 months from the date of manufacture. This is a high-performance hybrid formula, so it’s fresh and reactive.
- Storage: Keep it in a cool, dry area away from direct sunlight.
- Seal it: Make sure those containers are airtight after every use to maximize that lifespan.
Do I still use traditional Epoxy?
Yes, but specifically for certain applications. For darker colors, I use EpoxyKote which is the highest-grade epoxy I’ve found on the market. It’s also my go-to for base coats on existing surfaces (like Formica or Granite) and for fabricating shower panels using waterproof MDF or foam before I come over the top with PolyKote. See “How To Prep Existing Countertops” blog below.
Ready to Learn More?
If you want to see these techniques in action, I’ve put together several tutorials on our YouTube channel: 👉 Watch the Full Tutorials Here
Specific Guides:
The Truth About Why We Switched Systems (Blog)
How to Prep Existing Countertops (Blog)
Pouring over Yellowed Epoxy (Video)
Fortified Topcoat Instructions (Video)
Ready to Purchase Products?
You can purchase PolyKote, EpoxyKote, Fortified TopCoat and Color Additives directly from Savage Patriot Polymers 👉 Buy Products Here