
Want the beauty of natural stone without its limitations?
In this video, Artisan Design Concepts reveals how to craft their signature “Sonia Stone” epoxy finish—replicating the depth, texture, and elegance of real stone using resin, pigments, and technique.
What You’ll Learn
- Preparation & Priming – cleaning and priming the substrate for a flawless base.
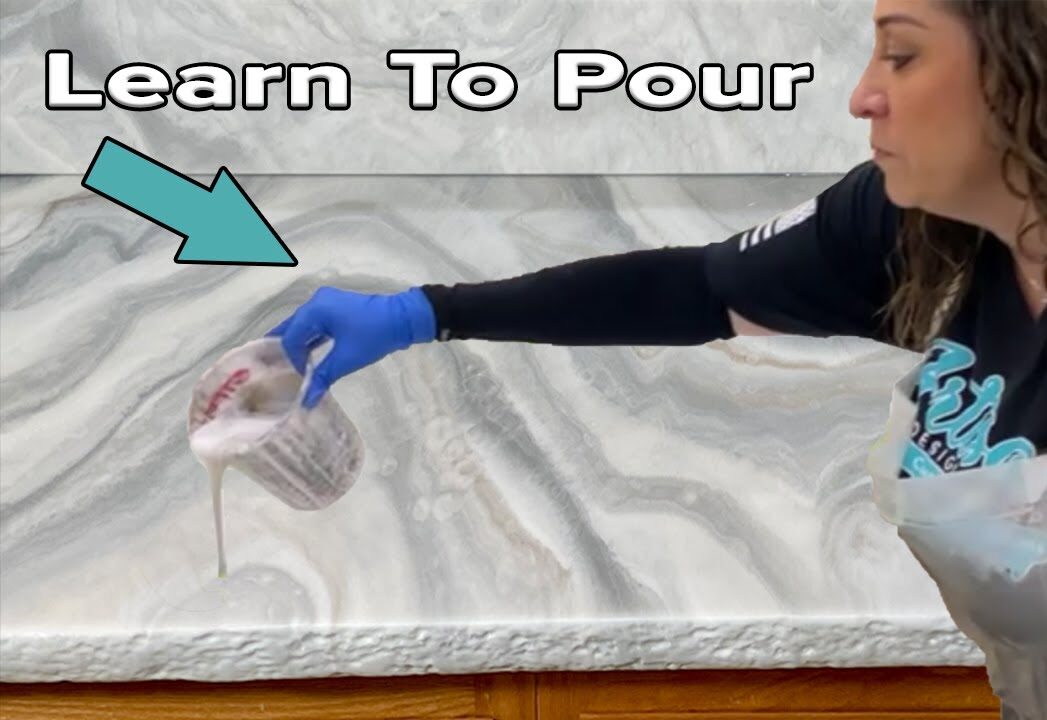
- Tinted Base Coat – pouring a rich neutral tone to mimic natural stone.
- Adding Veins & Texture – layering white and gray pigments to simulate mineral veins.
- Layering for Depth – introducing clear/resin layers to amplify the stone-like depth.
- Final Topcoat – smoothing out the surface and enhancing sheen.
Why It Works
- Realistic stone effect — achieves the visual texture and richness of natural stone.
- Cost-effective and customizable — choose pigment blends to match any aesthetic.
- Perfect for DIY or professionals — great guide for DIYers but equally useful for pros delivering flawless results.
Pro Tips from the Video
- Thorough prep is essential — dust-free, primed surfaces ensure strong bonding.
- Blend with heat control — heat gun usage creates natural transitions, but too much heat can flatten texture.
- Layer gradually — each resin layer adds depth; don’t rush or stack too thick at once.