
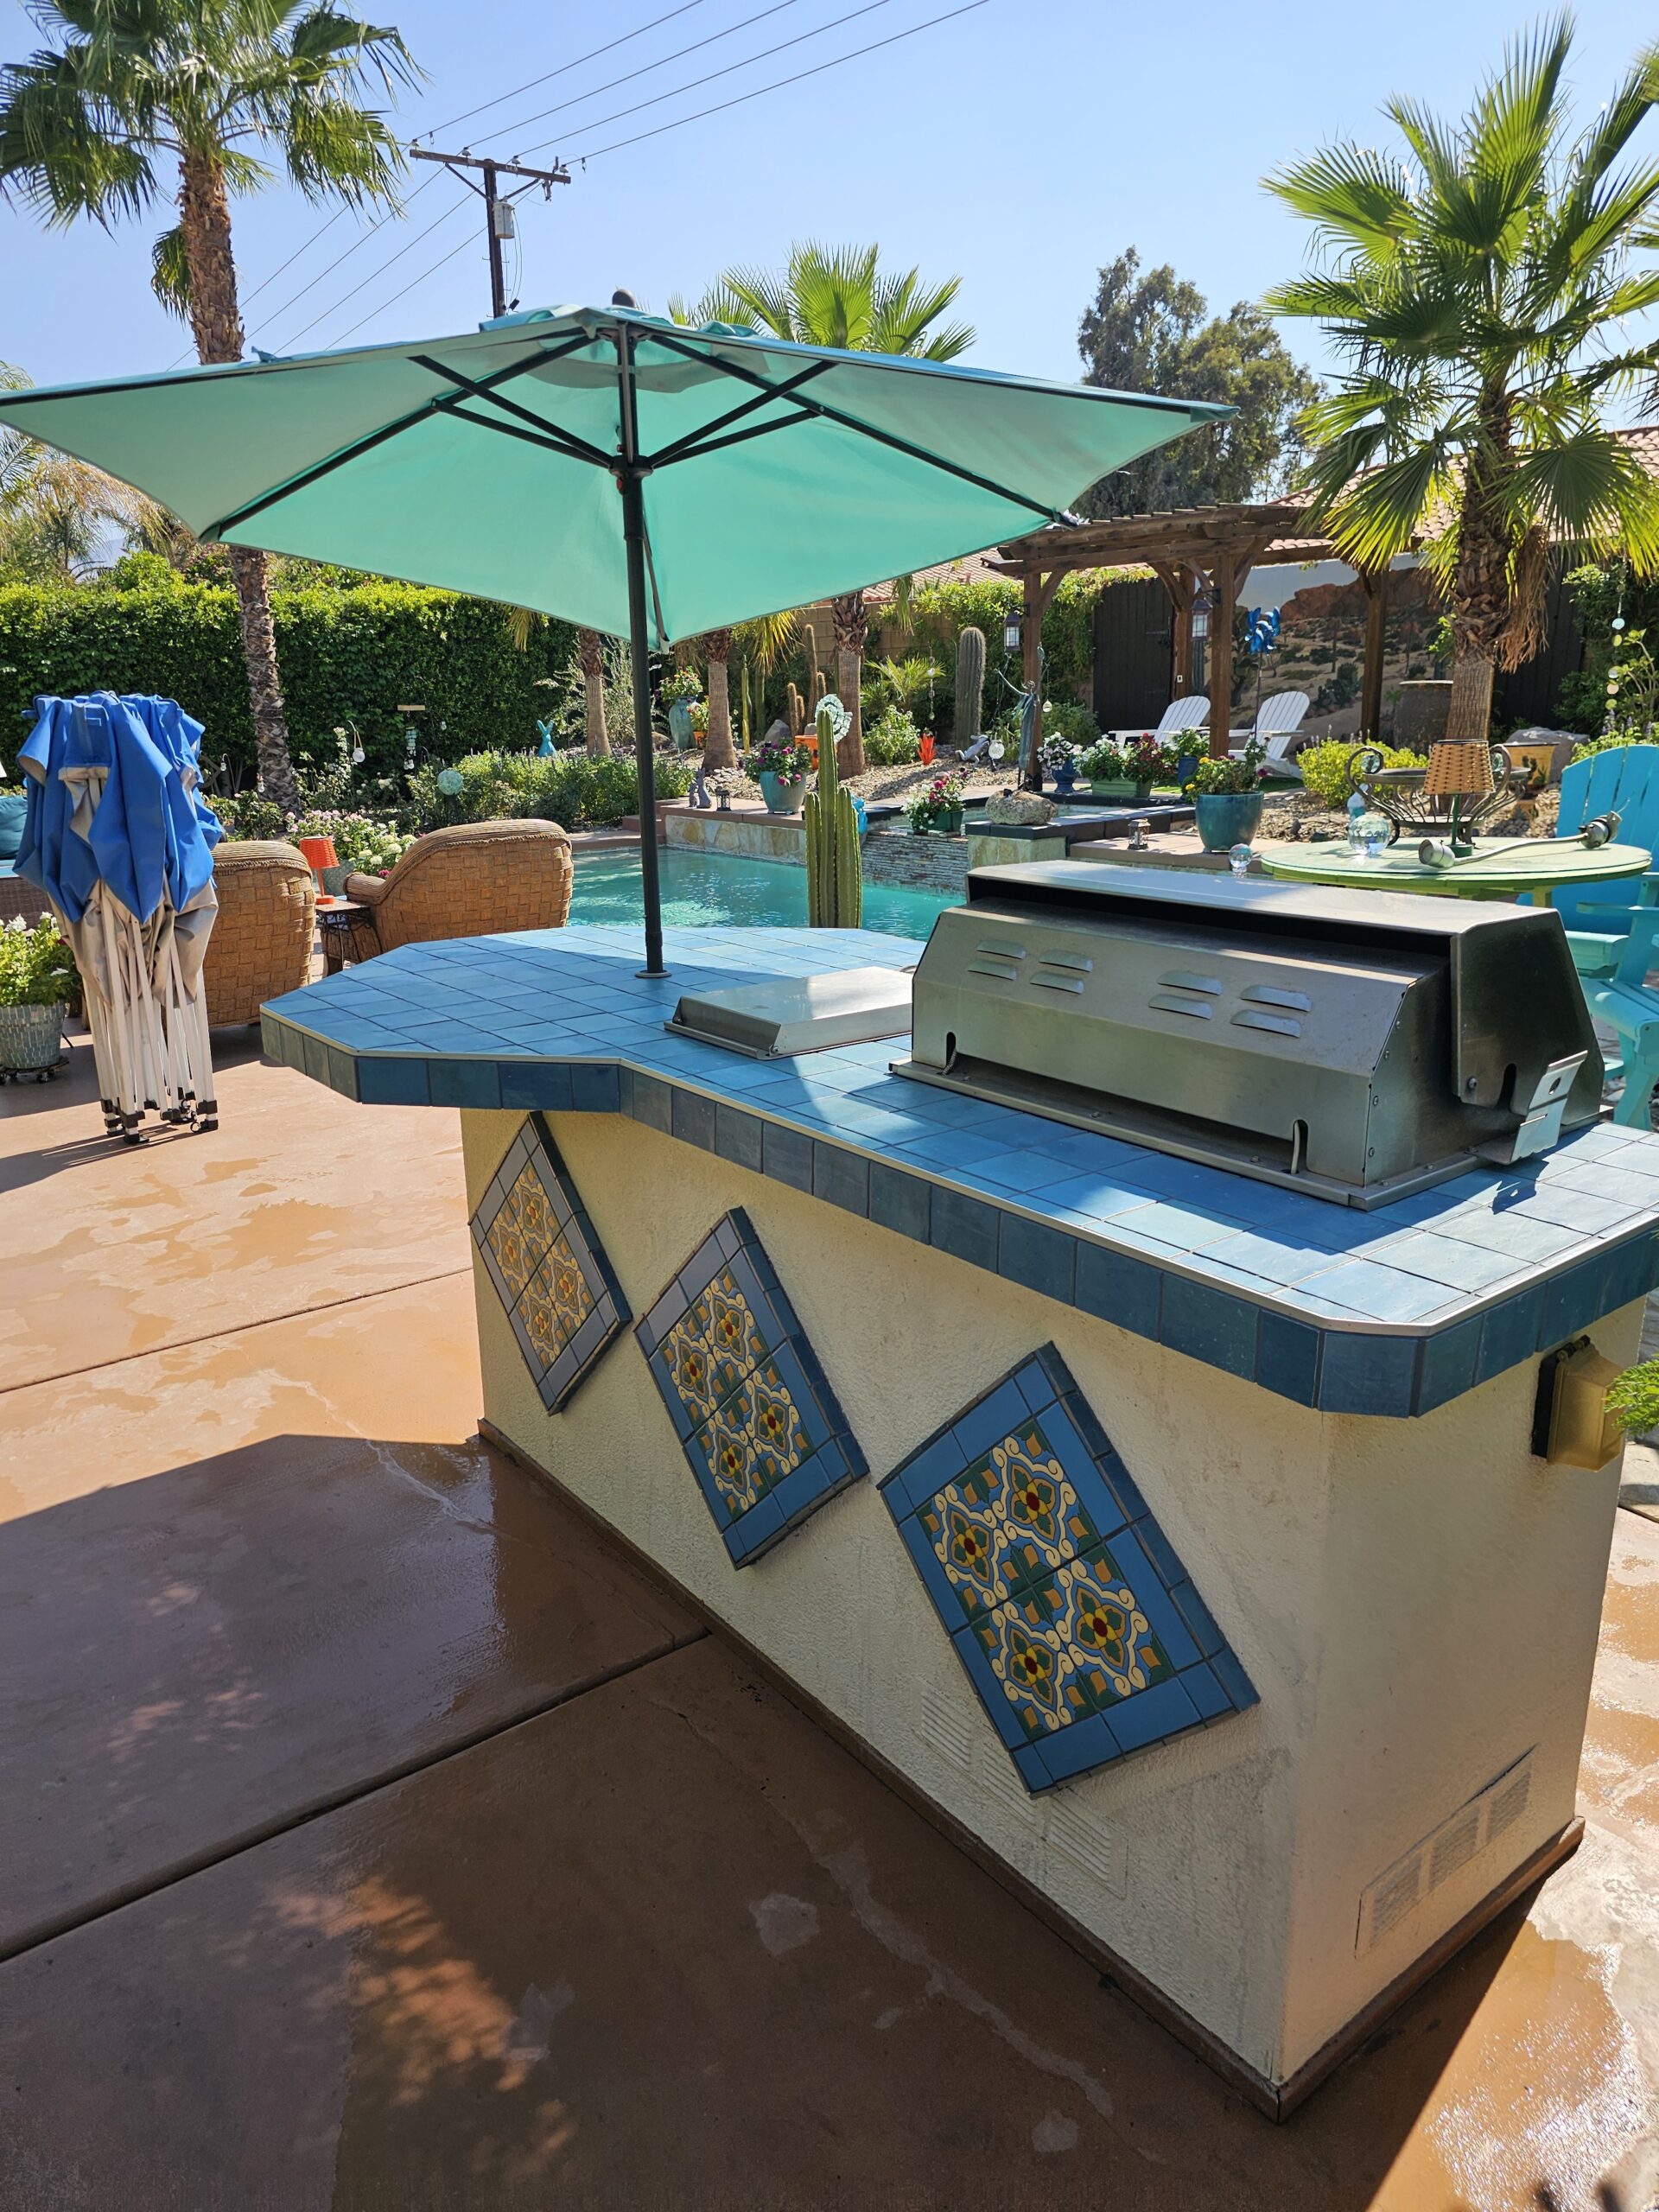
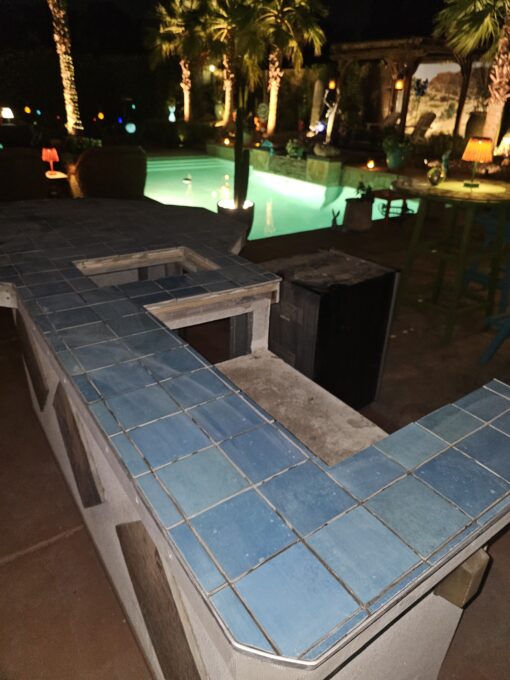
Backyard BBQ Island Remodel with New Tile, Plywood Subtop & Decorative Accents
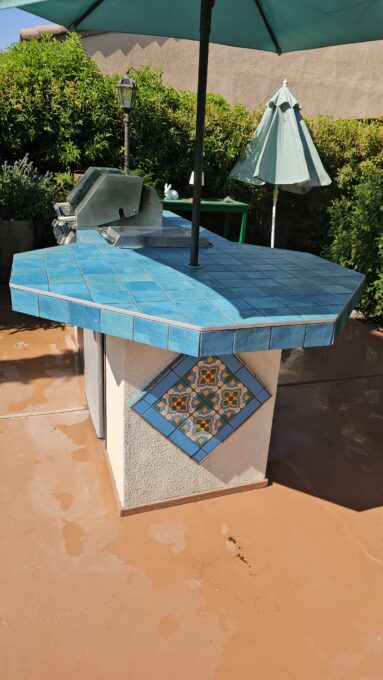
Outdoor living spaces are the heart of entertaining in the Coachella Valley — but exposure to heat, sun, and weather can leave finishes looking tired and worn. That’s exactly what happened with this outdoor BBQ island, which needed a complete facelift. Our Artisan Handyman Division stepped in to transform it with new tile, decorative accents, and a rebuilt subtop designed to last.
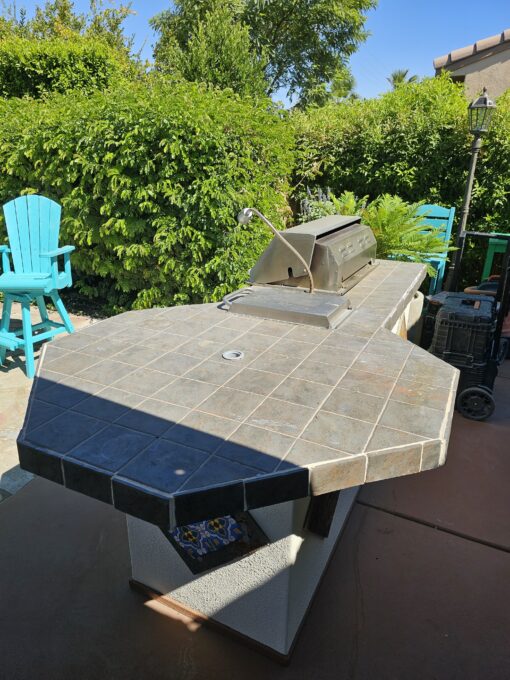
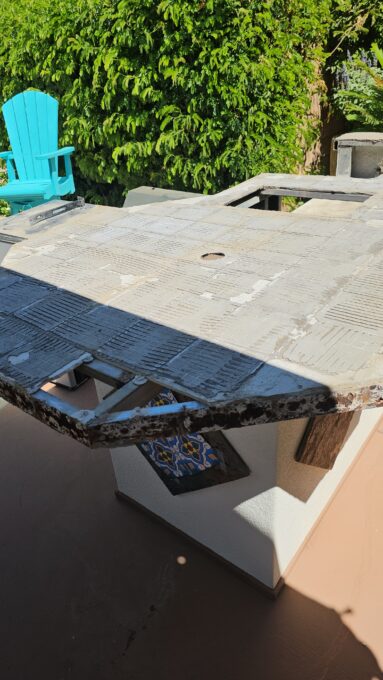
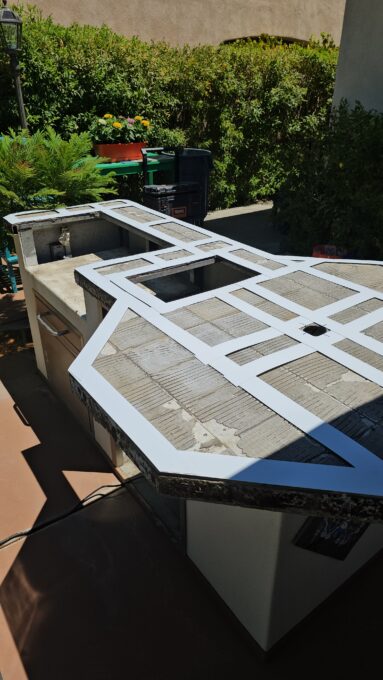
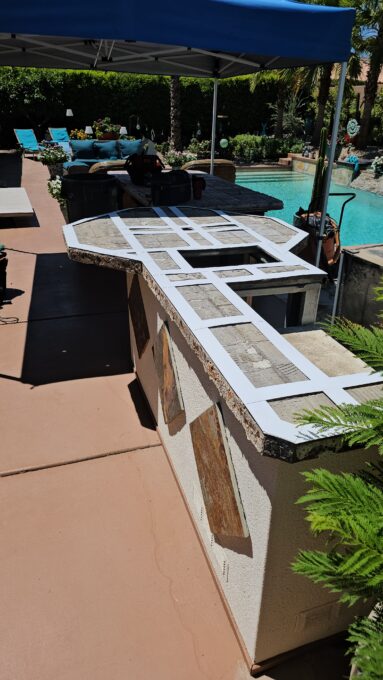
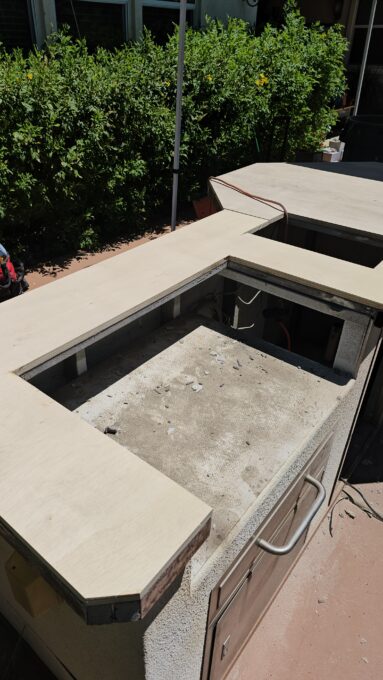
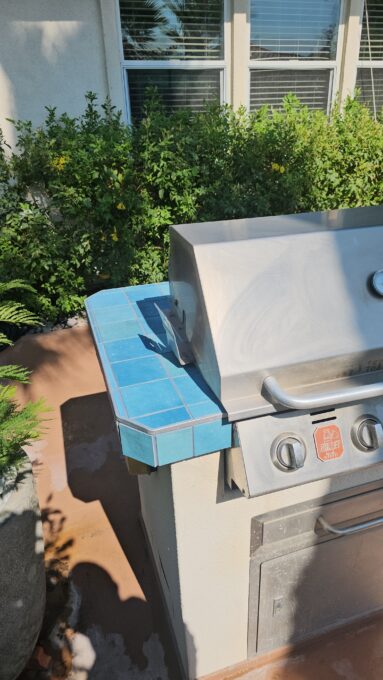
Step 1: Demolition & Templating the Surface
We began by removing the old tile from both the countertop and the decorative side boxes. Once stripped down, we carefully templated the island’s surface to ensure the new material would fit perfectly, avoiding uneven edges or wasted tile.

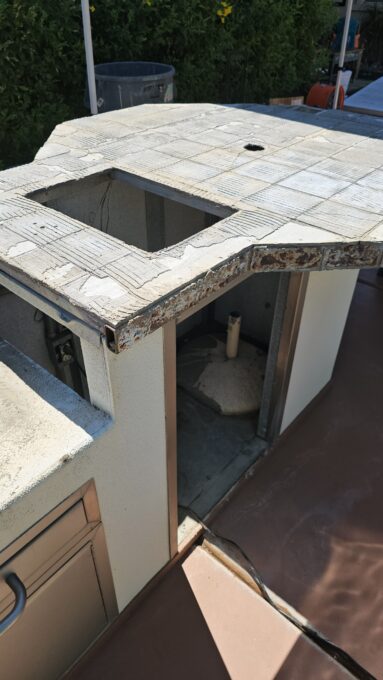
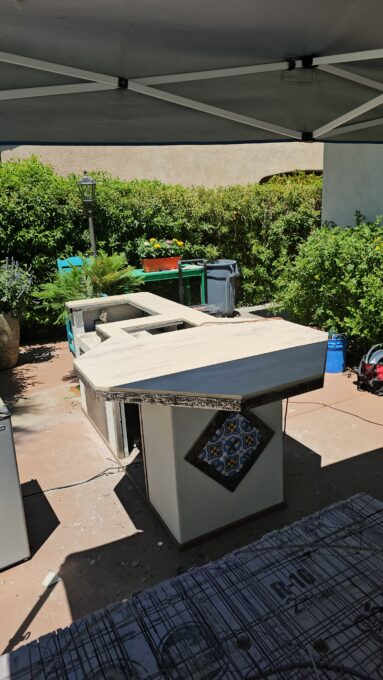
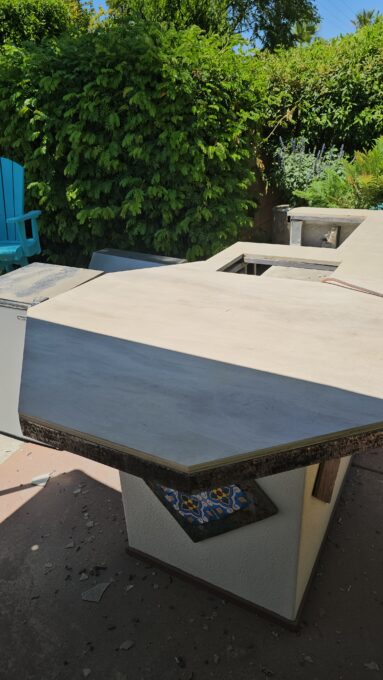
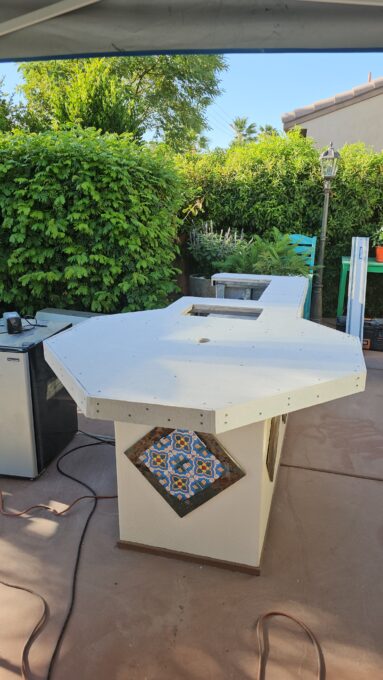
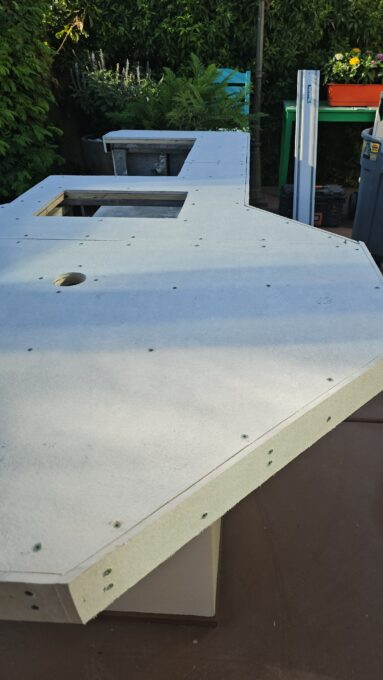
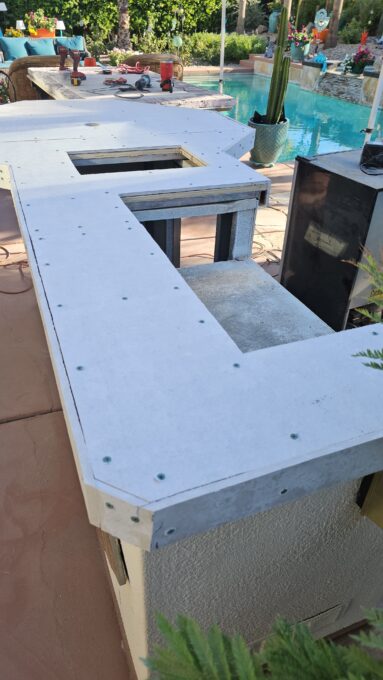
Step 2: Installing a New Plywood Subtop & HardieBacker
The original structure required reinforcement before retiling. We cut and installed a new exterior-grade plywood subtop, providing a strong foundation to support the tile. On top of this, we added a layer of HardieBacker cement board, secured with screws, to create a stable, water-resistant surface. This step is crucial for outdoor projects to prevent sagging, warping, or failure under heat and moisture exposure, ensuring the new tile installation will hold up beautifully over time.
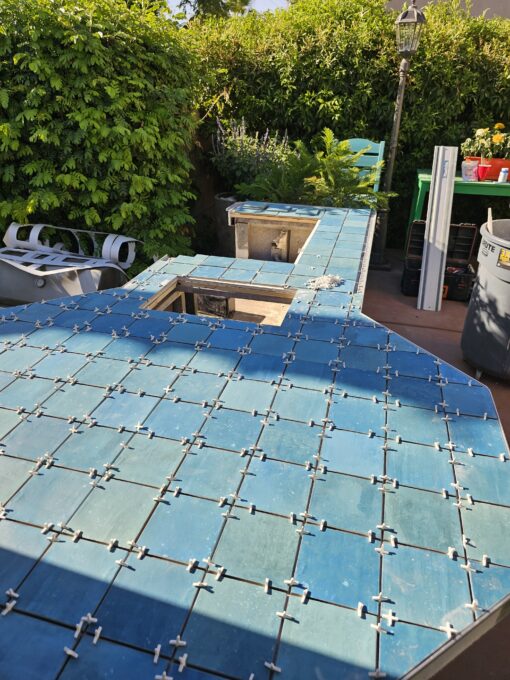
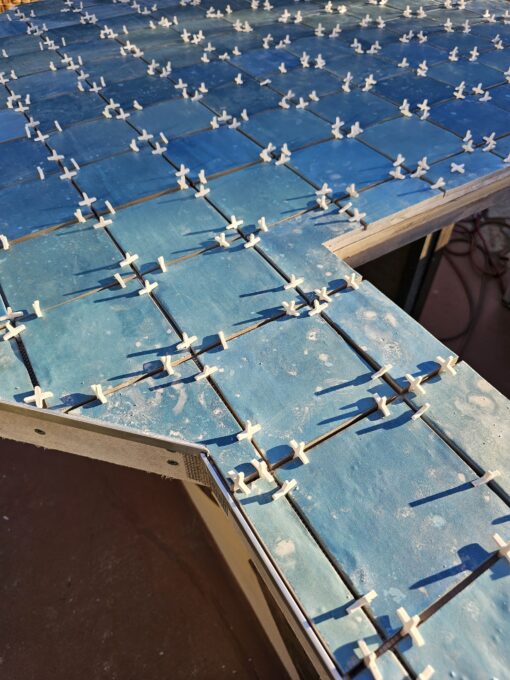
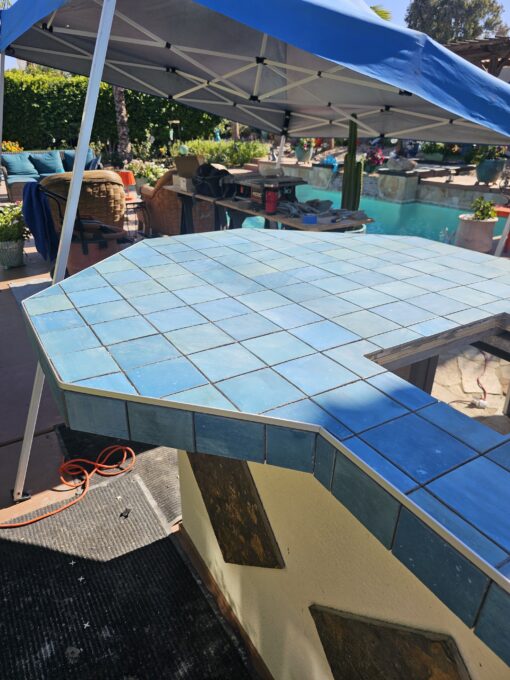
Step 3: Precision Cuts & Setting the Layout
With the foundation ready, we moved into tile layout and cutting. Every piece had to be measured and cut precisely to fit around the BBQ, edges, and decorative insets. We used spacers to achieve clean, uniform grout lines, ensuring the design was perfectly aligned. This stage required patience and craftsmanship to make sure the finished island would look balanced and professional.
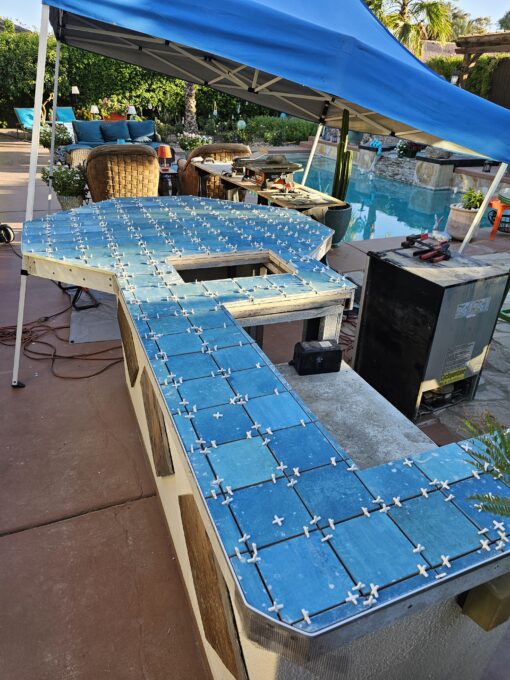
Step 4: Back-Buttering Tiles in Extreme Heat
Installing tile in the Coachella Valley’s extreme heat presents unique challenges. Thin set can dry too quickly on the surface, reducing adhesion. To overcome this, each tile was back-buttered — applying a layer of thin set directly to the back of the tile before placing it…one tile at a time!
This ensured maximum coverage and adhesion, even under hot conditions. Because of the rapid drying, Travis had to work late into the evening hours, methodically setting each tile before the thin set cured. This extra effort guarantees that the tile is locked in tight and will withstand the desert’s intense climate for years to come.
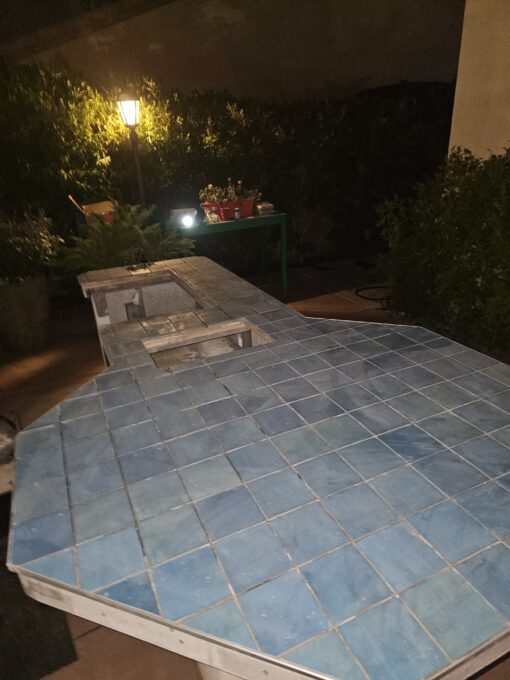
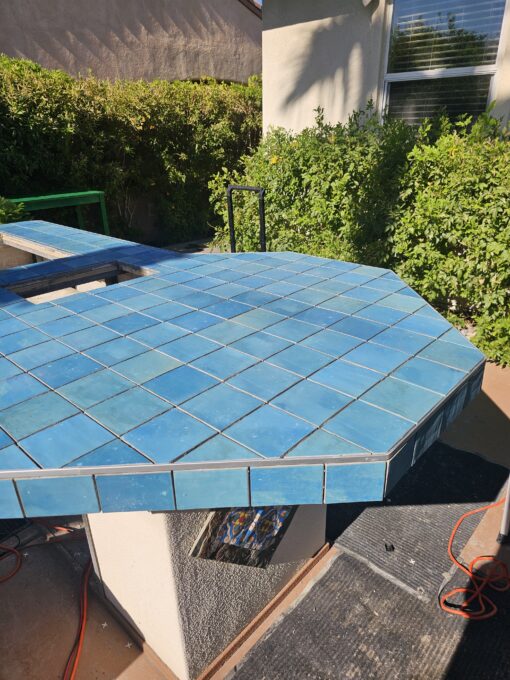
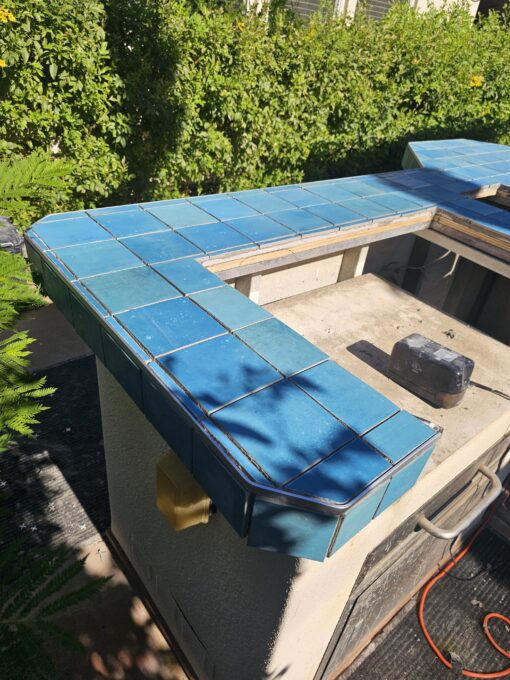
Step 5: Installing the Edge Tiles
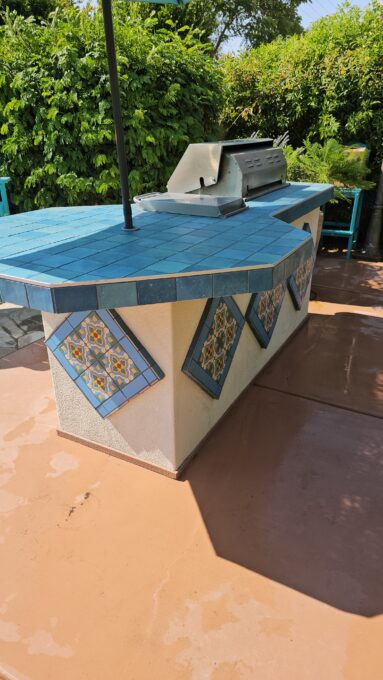
Once the field tiles were set, attention shifted to the edges of the countertop. Edgework is critical for both aesthetics and durability, since it’s the most visible and most touched part of the BBQ island. Each edge tile was carefully cut, leveled, and set to create clean lines and a seamless transition around the corners. This finishing detail not only protects the structure but also gives the island its crisp, professional appearance.
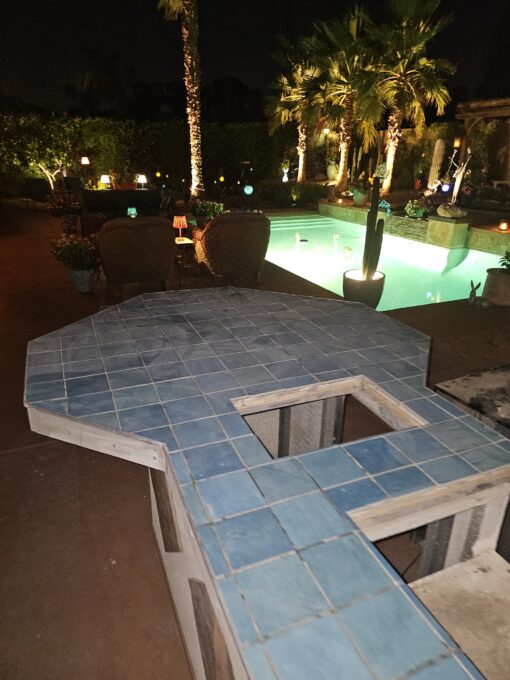
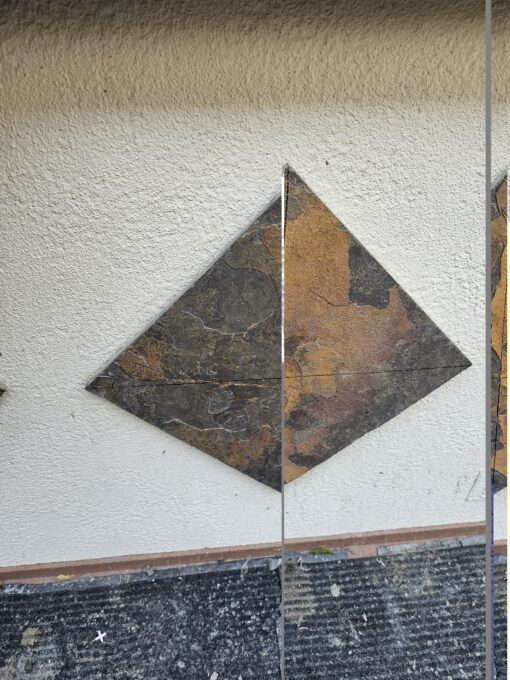
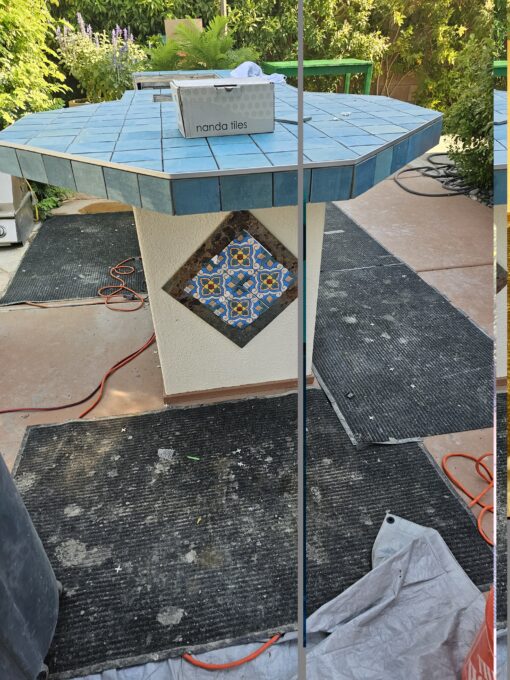
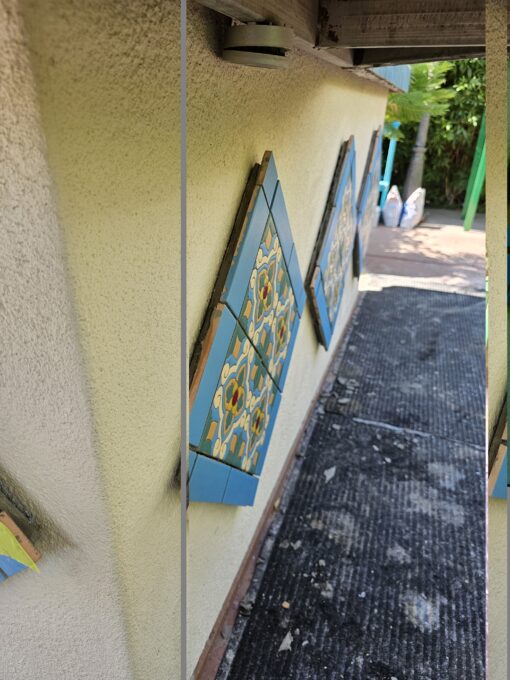
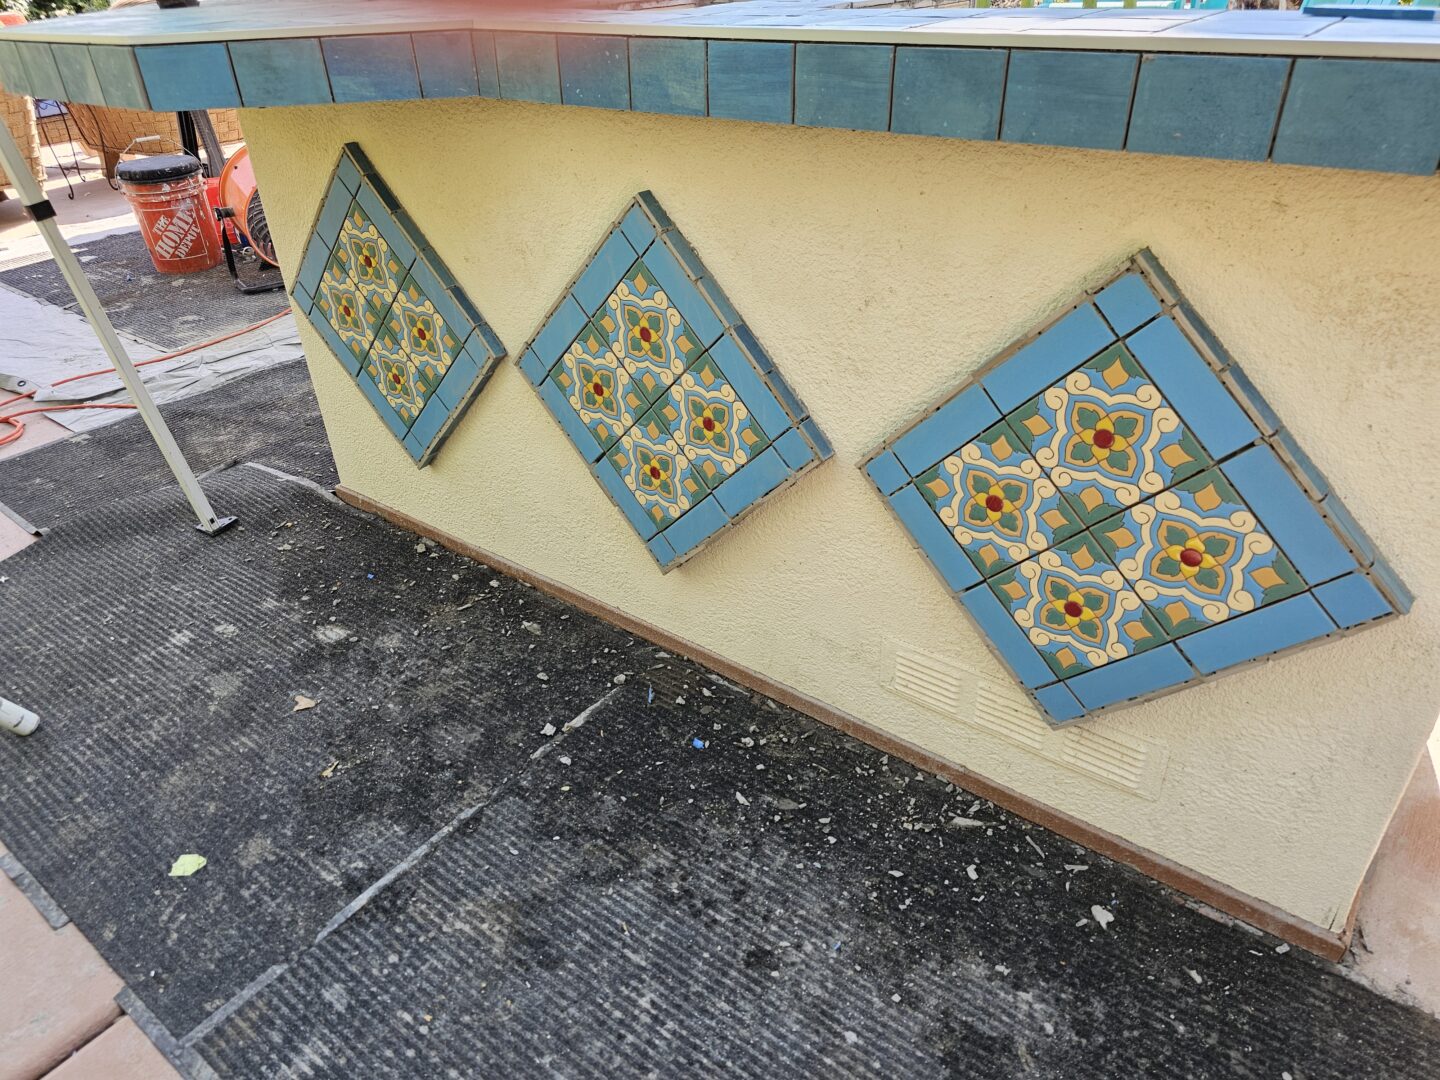
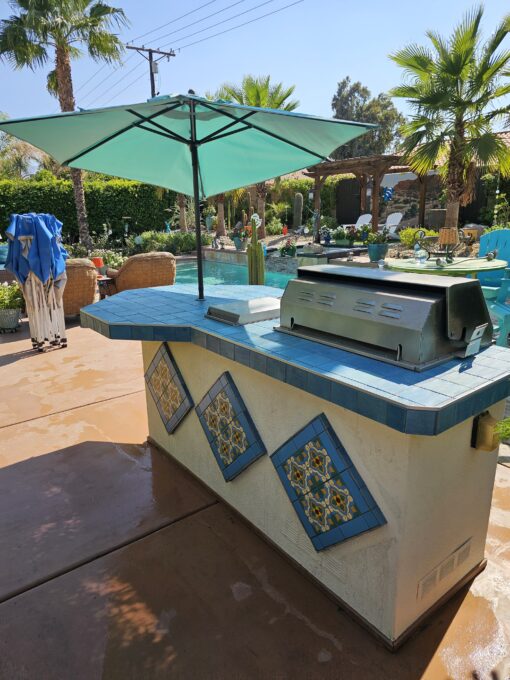
Step 6: Restoring the Decorative Tile Boxes
One of the standout features of this BBQ island is the decorative inset tile boxes on the side walls. We rebuilt, aligned, and reinstalled these accents to create a cohesive, eye-catching look that ties the entire structure together.
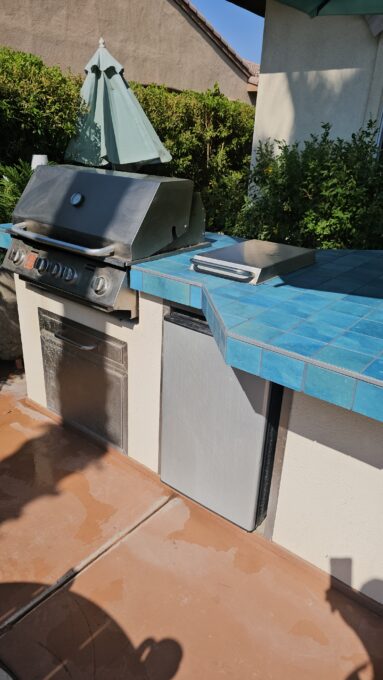
Step 7: Grouting & Final Finish
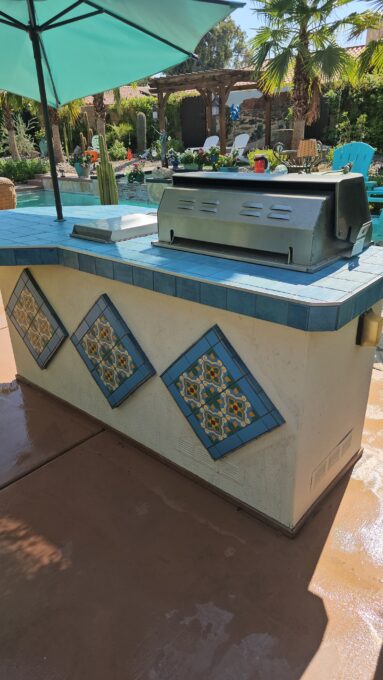
With all the tiles in place, we moved on to grouting the joints. This locked the tiles firmly, added a clean finish, and highlighted the design with the chosen grout color. Finally, we cleaned the entire area — leaving behind a refreshed outdoor centerpiece ready for backyard entertaining.
Why Quality Craftsmanship Counts
This project shows how a tile upgrade with proper preparation (templating + new plywood subtop), climate-adapted techniques (back-buttering in high heat), and finishing details (edgework, decorative boxes, and expert grouting/sealing) can dramatically extend the life of an outdoor BBQ island — without the cost of a full rebuild.
Thinking about an upgrade? Contact Artisan Design Concepts today — we’ll take your project from mild to wild.