
How Artisan Design Concepts Handyman & Flooring Divisions Transformed a Palm Springs Garage with Insulation, Drywall and a Professional Epoxy Floor
The Challenge: A Garage That Couldn’t Keep Its Cool
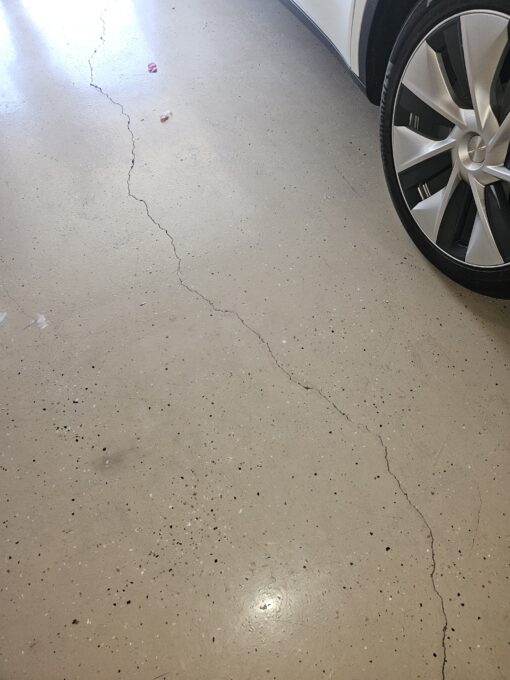
When new homeowners in Palm Springs, CA purchased their property, they had big plans — including installing a Tesla charging station in their garage. The problem? The garage was practically unusable due to extreme heat.
That’s where Artisan Design Concepts’ Handyman Division and Flooring Division stepped in for a complete garage makeover.
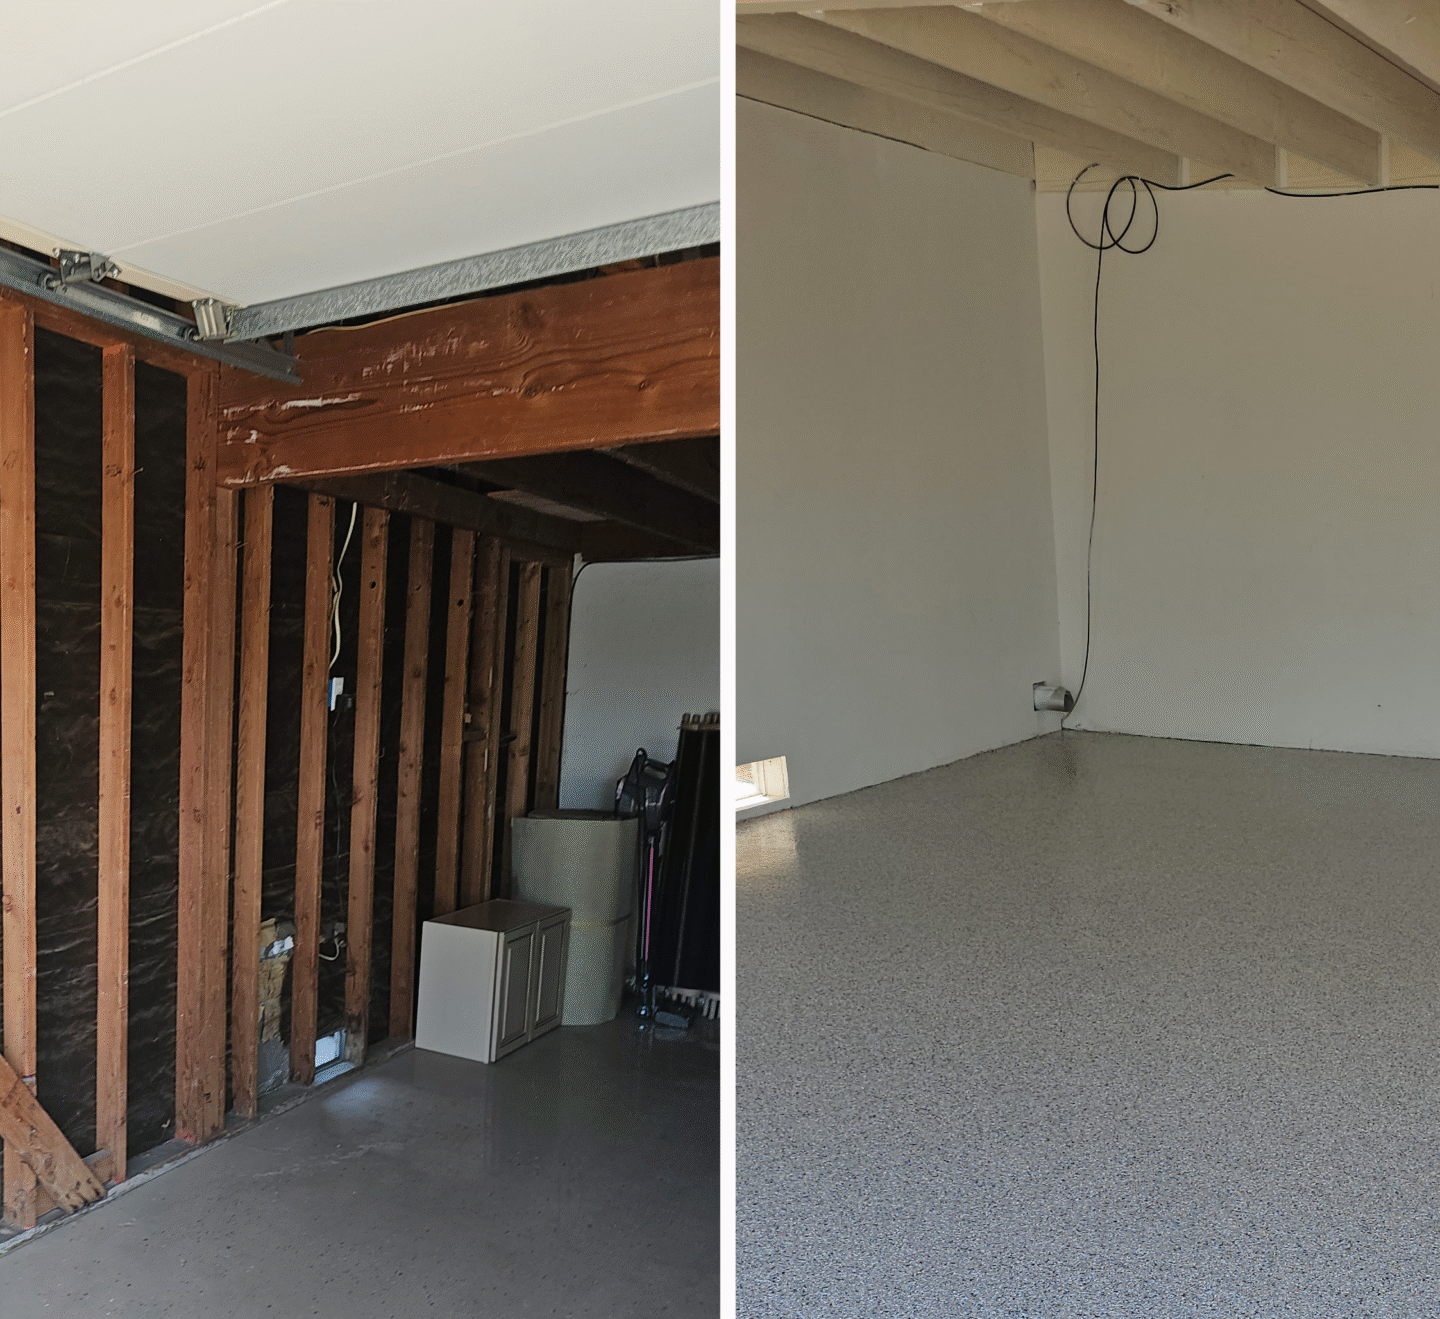
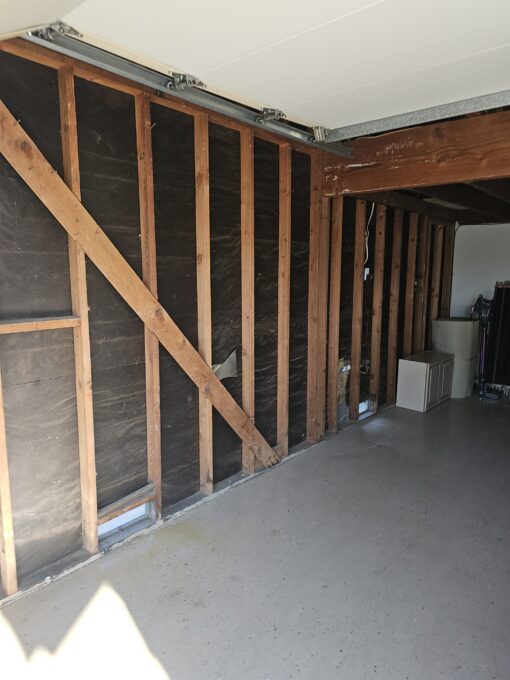
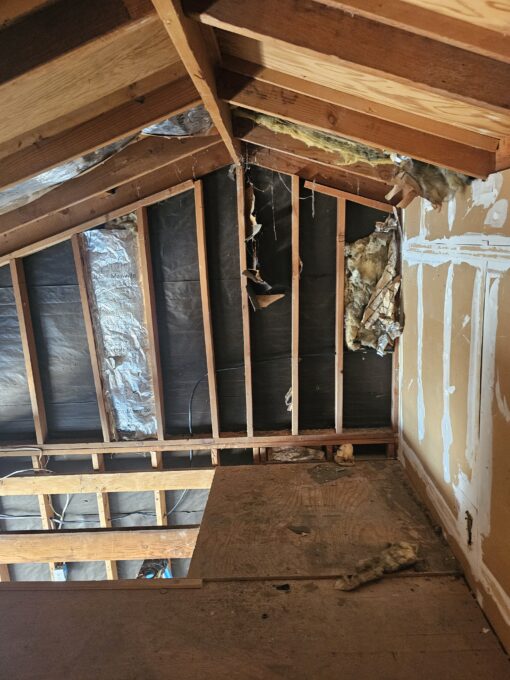
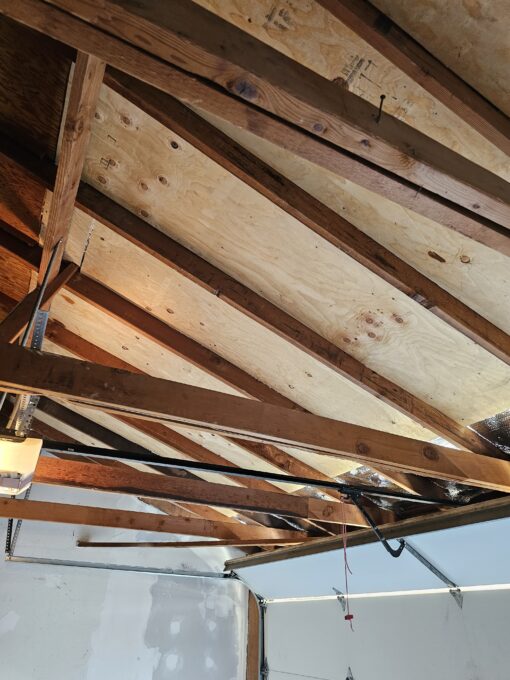
With exposed 2×4 framing, no insulation, and unfinished ceilings, it became a sweltering hot box. Add to that a cheap, failing epoxy floor (likely a DIY kit from a big-box store), and the space simply didn’t meet their needs.
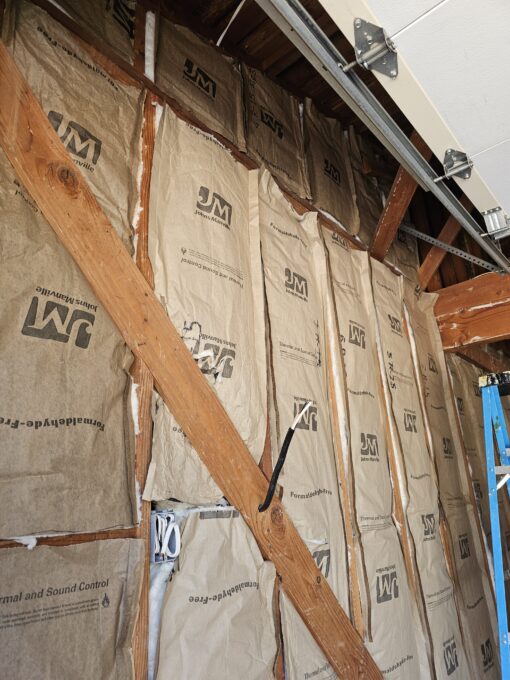
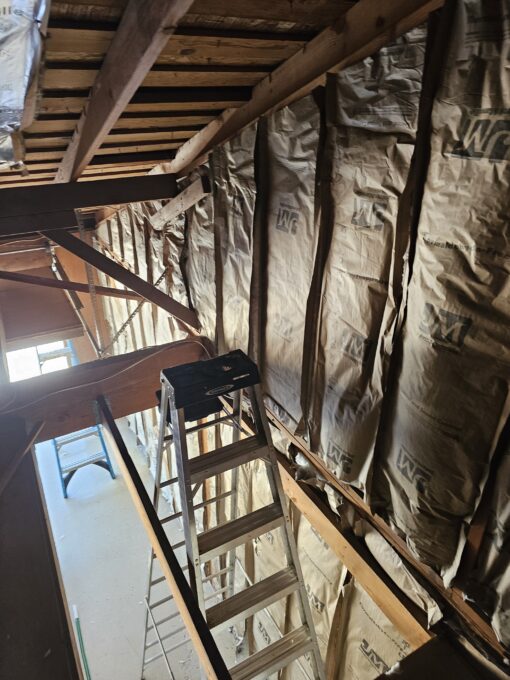
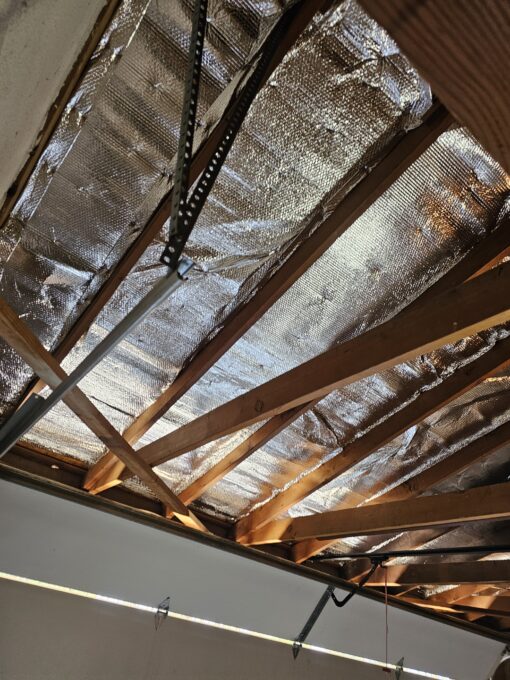
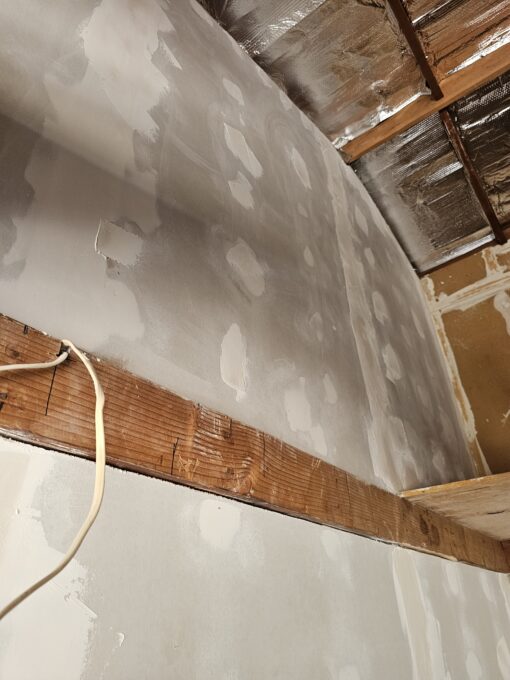
Step 1: Insulation & Radiant Barrier
The first priority was tackling the heat issue. Our Handyman Division:
- Installed insulation in all the walls, dramatically improving the garage’s ability to regulate temperature.
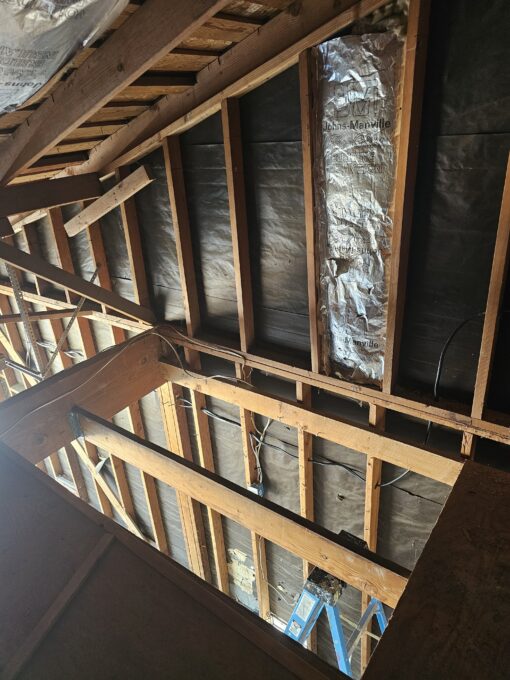
- Added a radiant barrier to the ceiling area, reflecting radiant heat away and keeping the garage cooler even in Palm Springs’ desert sun.
This step alone made a huge difference, ensuring the space wouldn’t overheat while charging an electric vehicle or storing items.
Step 2: Drywall & Plywood Installation
With the insulation in place, the next step was to close up the framing:
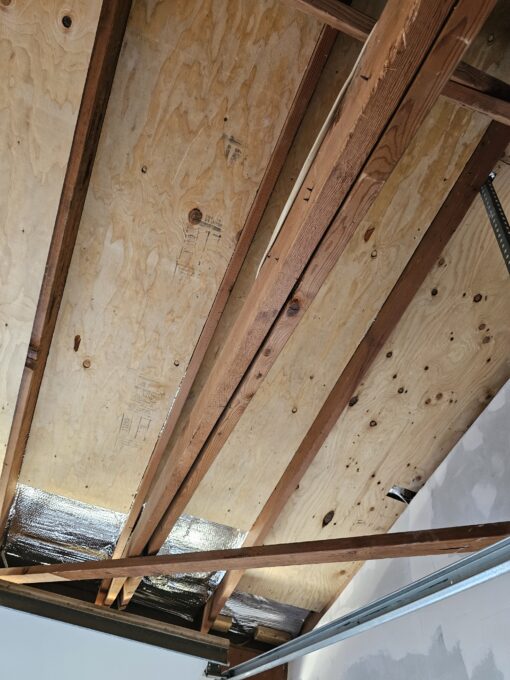
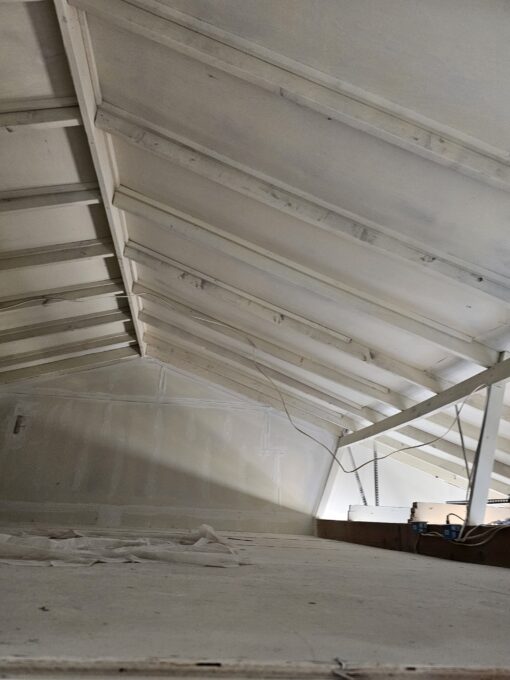
For the attic/storage ceiling, we installed plywood sheets instead of drywall — a cost-conscious choice since the area wasn’t visible, yet still secure and functional.
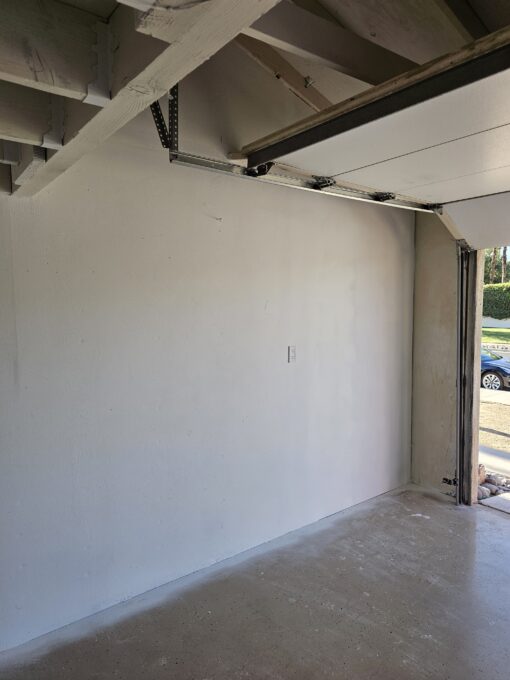
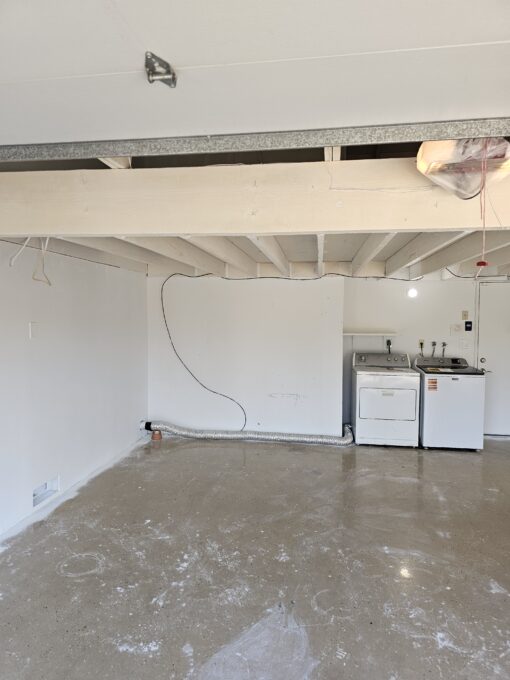
All walls were finished with drywall, instantly giving the garage a more polished, livable look.
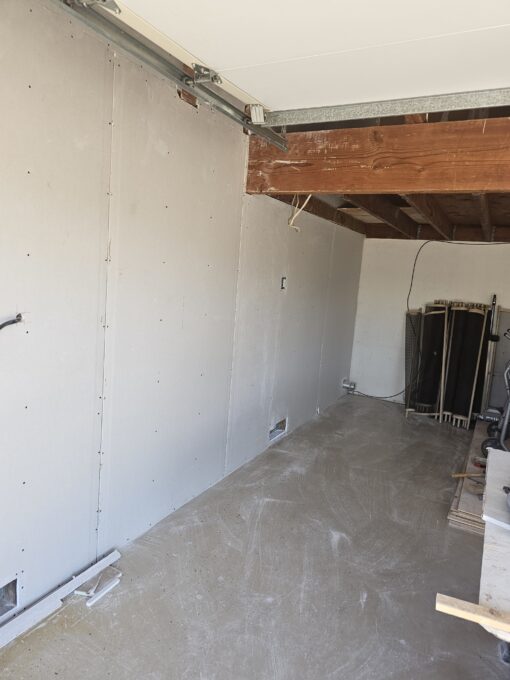
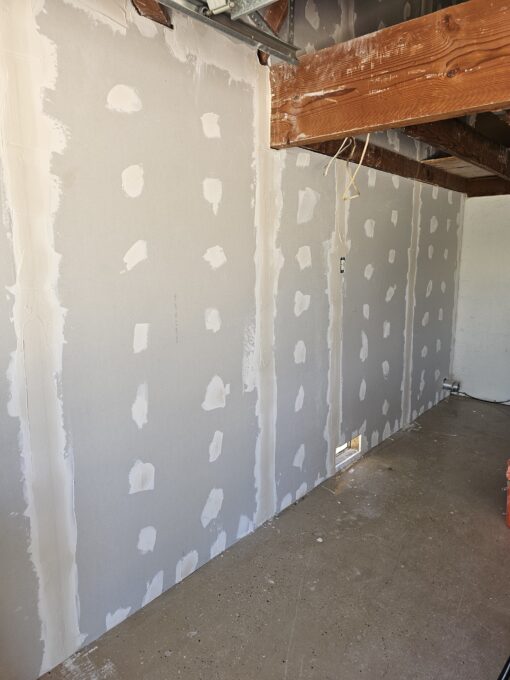
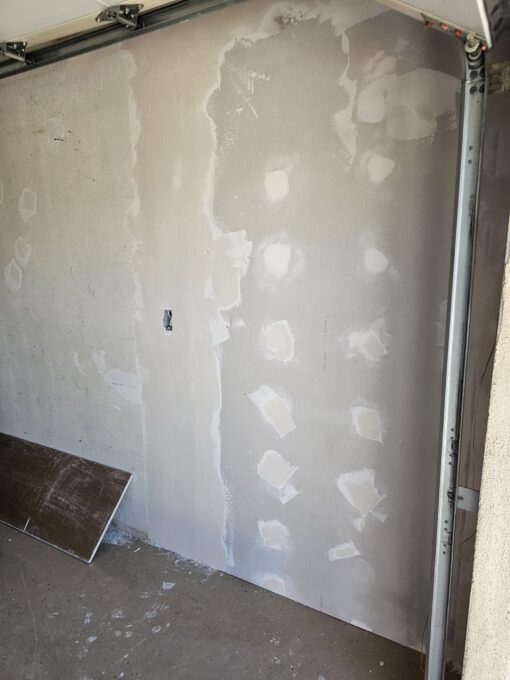
Step 3: Primer & Paint Prep
Once the walls and ceiling were sealed, everything received two coats of primer. This protects the drywall, evens the surface, and ensures the homeowners can easily apply paint in the future if they choose. Even in its primed state, the garage was brighter, cleaner, and more comfortable.
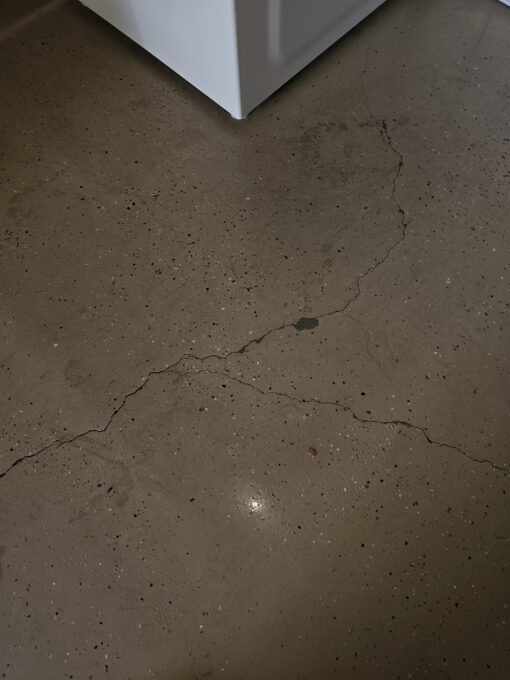
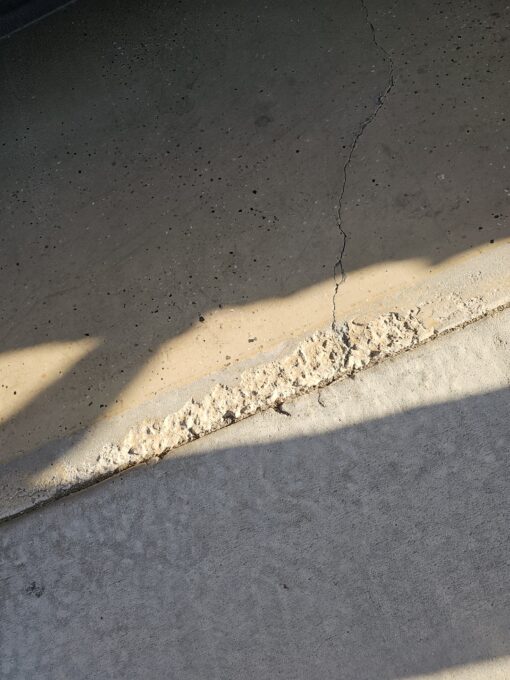
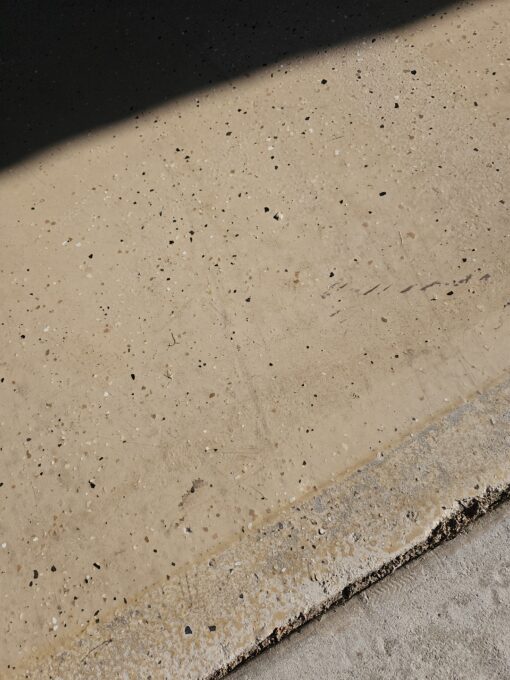
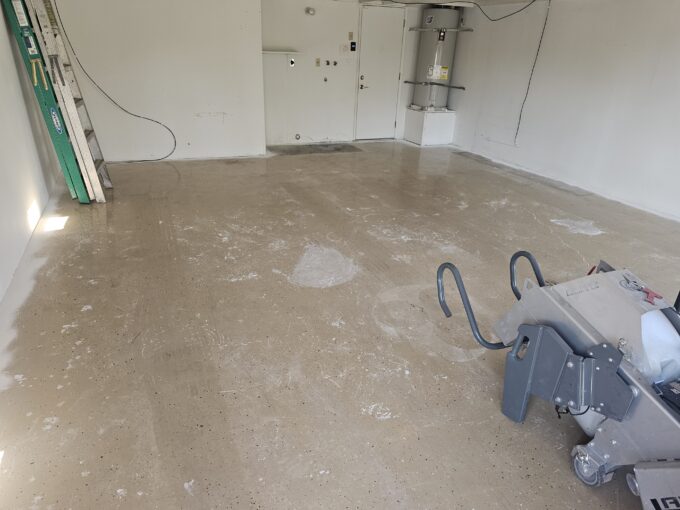
Step 4: Removing the Failing DIY Epoxy Floor
Next, our Flooring Division tackled the floor. The original epoxy was already peeling and failing, showing the difference between a DIY kit job and a professional installation.
Big-box epoxy kits may look appealing up front, but they simply can’t match the durability, adhesion, or longevity of professional-grade products. Over time, they chip, peel, and wear unevenly — costing more in the long run when you need to redo the floor.
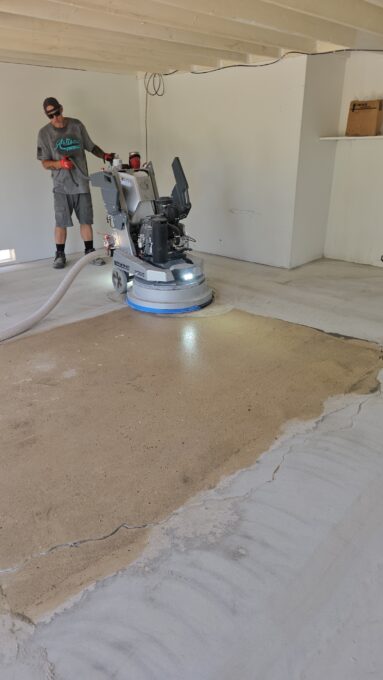
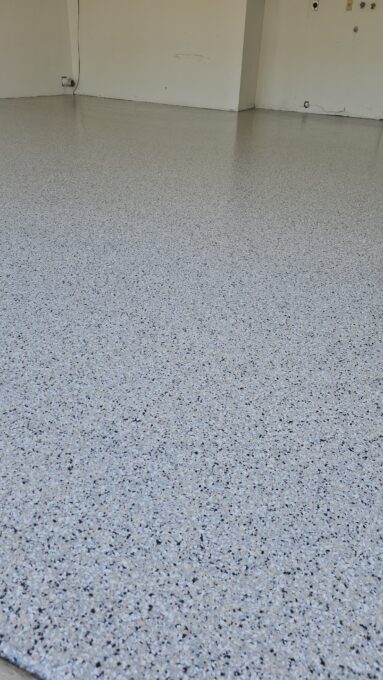
Step 5: Professional Epoxy & Flake System
We started fresh by:
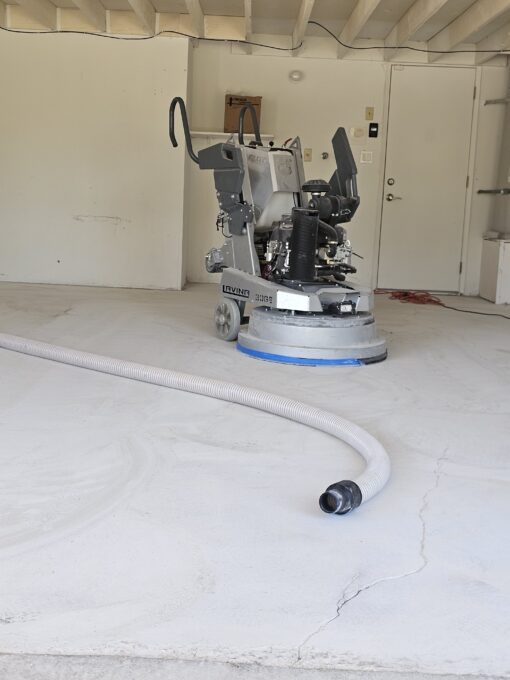
- Using a commercial diamond grinder to properly profile the concrete.
- Performing crack fills and patch repairs where needed.
- Applying a 100% solids epoxy base coat.
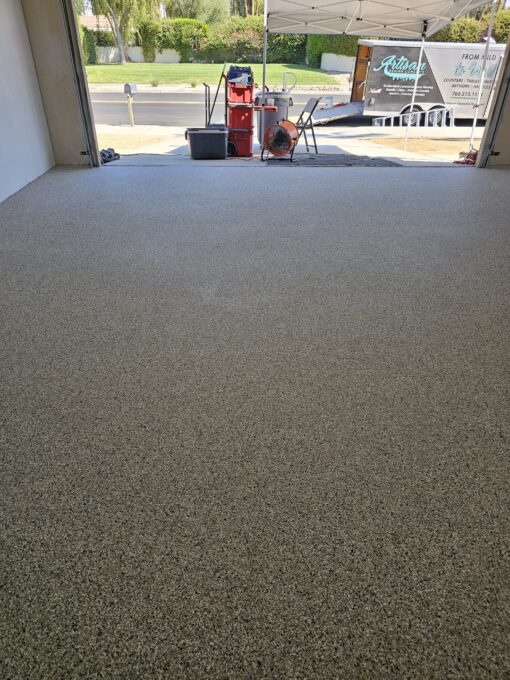
- Broadcasting decorative flake to full rejection. The chosen color: Fallout — a sleek, modern blend perfect for Palm Springs style.
The next day, we scraped, sanded, and cleaned the surface before applying a durable polyaspartic topcoat. This final layer provides excellent UV stability, chemical resistance, and a seamless finish built to last.
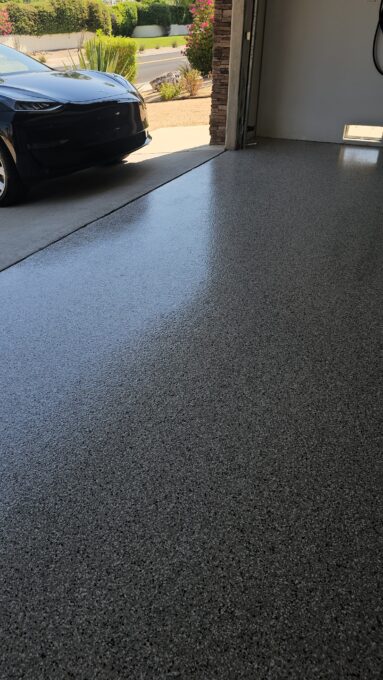
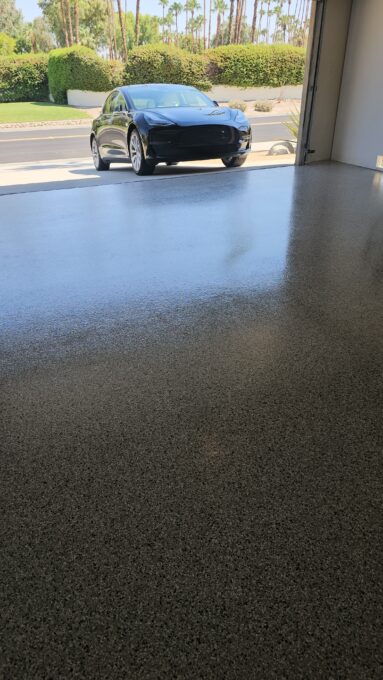
Step 6: What’s Next
With insulation, radiant barrier, drywall, primer, and a professional epoxy flake floor now in place, this garage is nearly complete. Next up, once the homeowners are ready, we’ll install new baseboards and weather stripping for a fully polished finish.
Built to Last in the Desert Climate
This project shows why professional installation is always the smarter choice. From insulation and radiant barrier that keep the garage cool, to a professional epoxy flake system with polyaspartic topcoat, every detail was designed for long-term performance in Palm Springs’ desert climate.
With a Tesla charging station planned, this garage is no longer just a storage space — it’s a functional, energy-efficient extension of the home.
✅ Thinking about a garage upgrade in Palm Springs? Whether you need insulation, drywall, or a long-lasting epoxy floor, our Artisan Design Concepts Handyman and Flooring Divisions deliver results that last. Contact us today to start your project.