Epoxy Flooring Process
How Our Epoxy Floor Installations Are Done
At Artisan Design Concepts, we take pride in delivering floors that are not only beautiful but built to last. Here’s what you can expect when you work with us:
1. Site Visit & Custom Estimate
We begin with an on-site evaluation of your concrete surface. During this visit, we’ll take measurements, assess surface hardness and moisture levels, and identify any repairs or prep work that may be needed. We’ll also walk you through finish options and help you choose the right system for your space and use.
2. Concrete Preparation
To ensure proper bonding, we mechanically grind the concrete using professional diamond grinders to create the ideal profile (CSP 2–3). This critical step allows the epoxy to adhere properly. Unlike some installers who skip this step, we never cut corners. Any cracks, holes, or surface flaws are patched using a high-performance polyurea repair compound.
3. Moisture Barrier (When Needed)
If moisture levels are above recommended thresholds, we apply a moisture vapor barrier to the surface. This helps prevent issues like bubbling or delamination and improves long-term adhesion of the epoxy.
4. Epoxy Installation
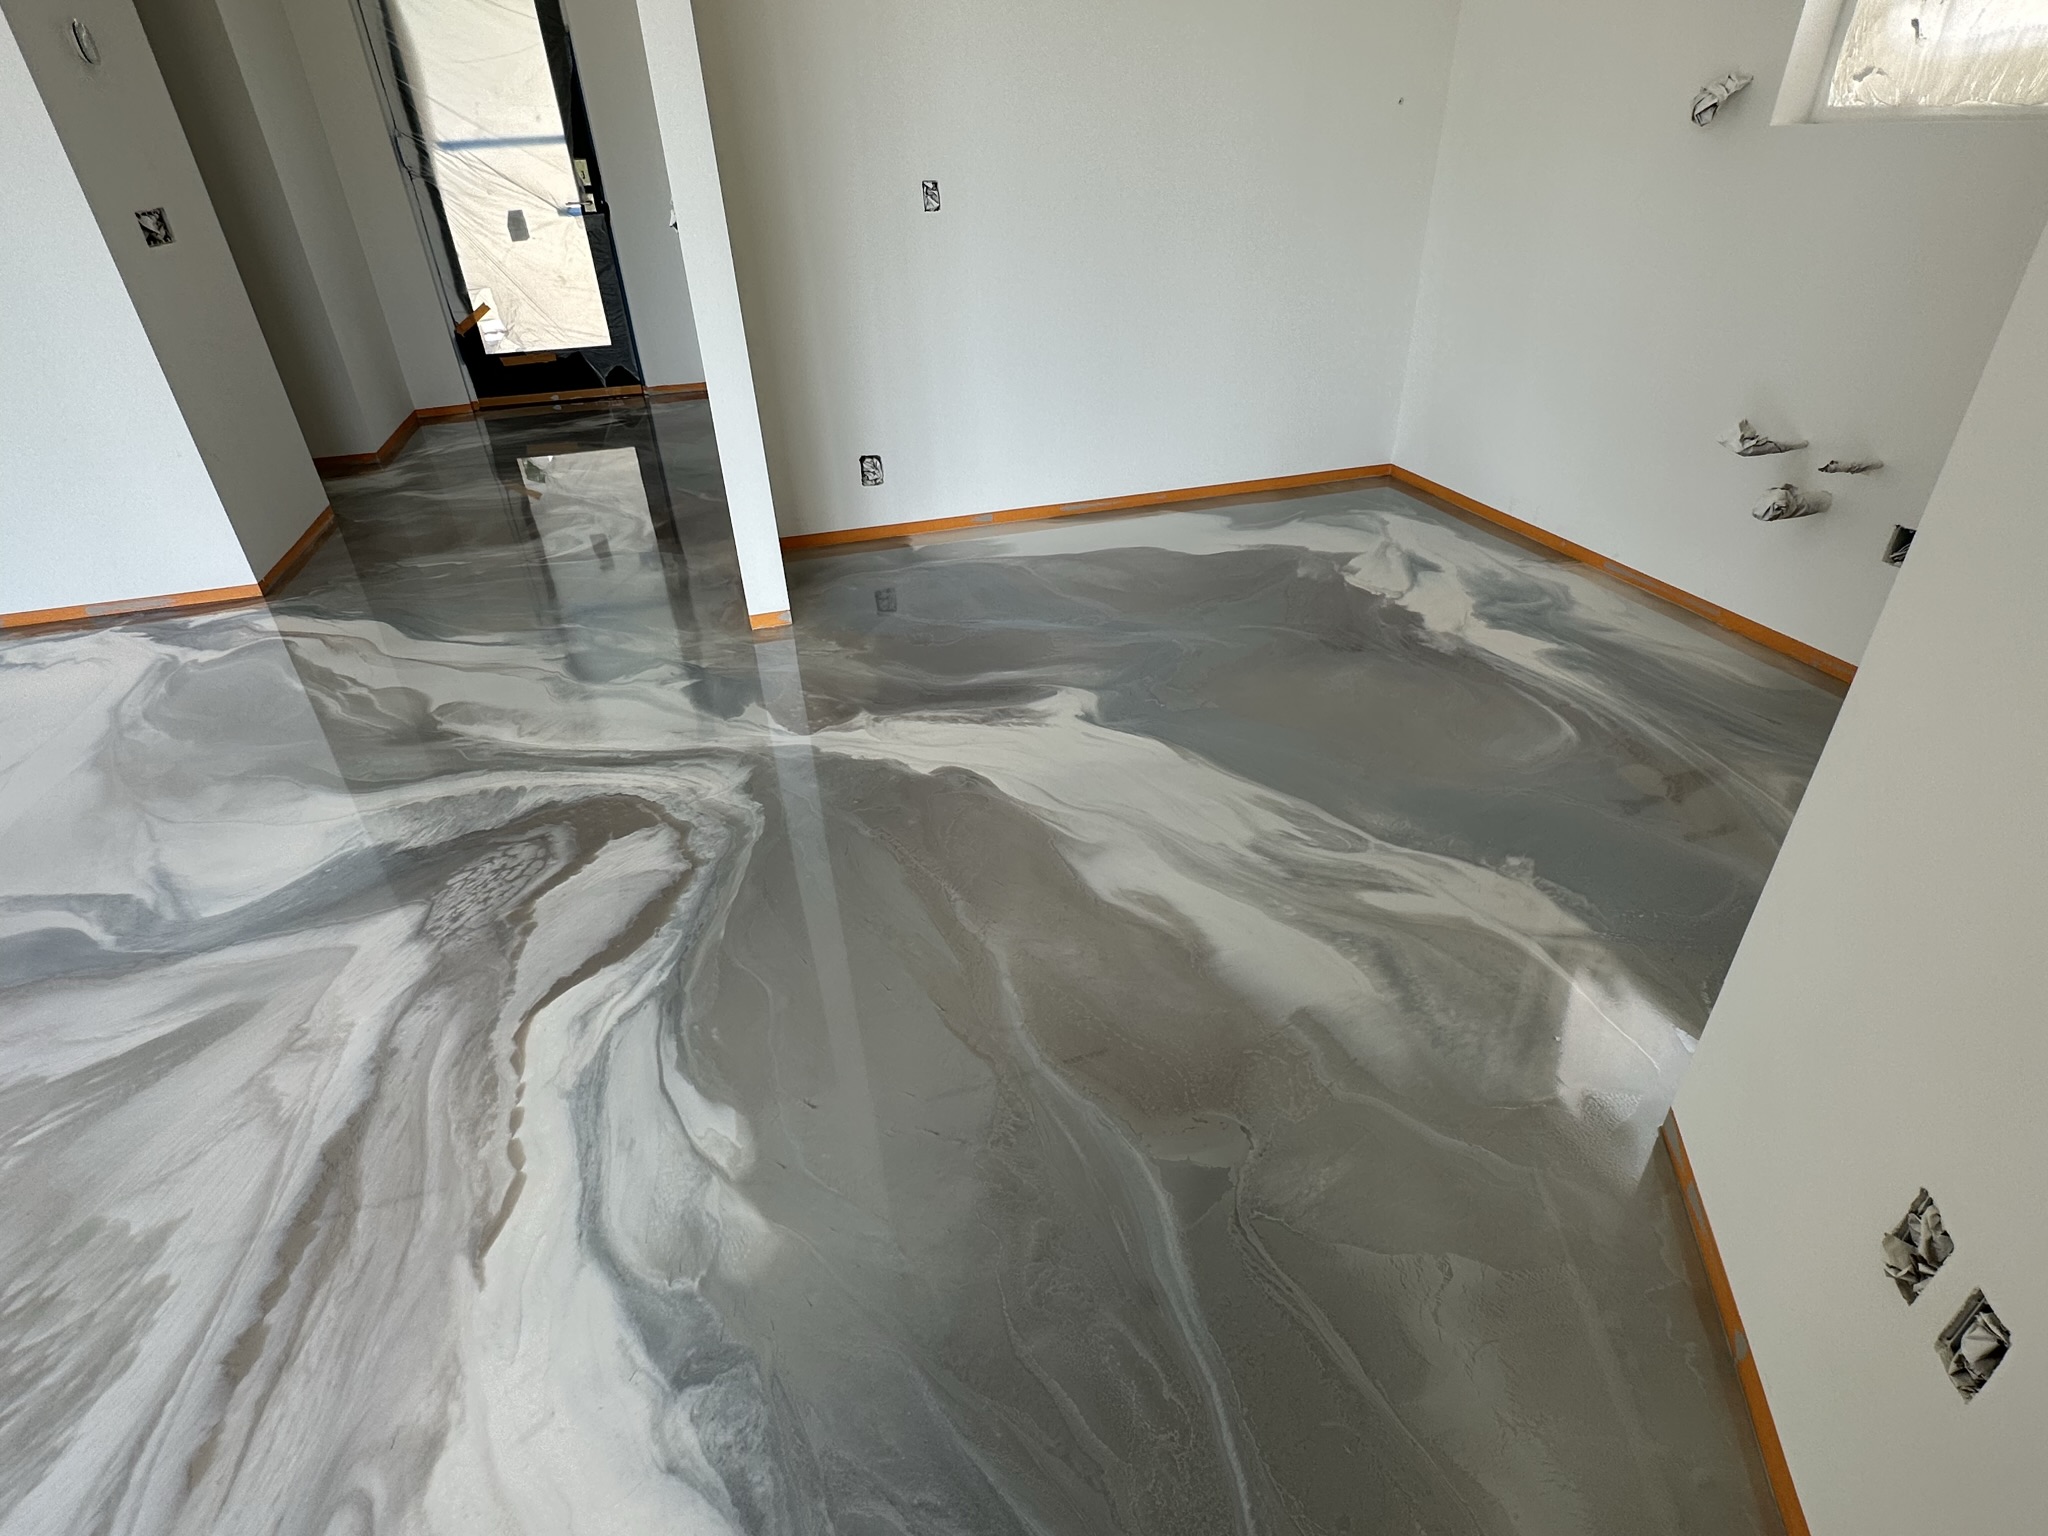
- Metallic Epoxy Floors:
We apply a tinted epoxy base coat, followed by a custom-blended metallic design coat. This system creates a unique finish that mimics the look of marble or other natural patterns. - Flake Epoxy Floors:
For flake floors, we broadcast decorative vinyl chips into a tinted base coat. We apply a full broadcast, meaning the flakes completely cover the floor for a consistent texture and color. Once cured, excess flake is scraped and sanded smooth before sealing.
5. Curing Time
After installation, the epoxy needs time to cure and harden properly. Curing time varies based on temperature, humidity, and the type of epoxy or topcoat used. We’ll let you know exactly when your floor will be ready for foot traffic and full use.
6. Final Inspection
Before wrapping up, we carefully inspect the entire surface for any blemishes, bubbles, or inconsistencies. If anything needs attention, we address it before moving on to the final step.
7. Protective Topcoat
- Metallic Floors:
We finish metallic floors with a high-performance urethane topcoat, available in a variety of sheen levels, to protect the surface and enhance longevity. - Flake Floors:
We seal flake floors with a polyaspartic topcoat, applied using a roller and squeegee. This layer provides UV stability, added durability, and resistance to wear and tear.
8. Ongoing Maintenance
Epoxy floors are known for being low-maintenance. Regular cleaning with a soft mop or broom and gentle cleaning solution will keep your floor looking great for years. With the right care, your epoxy floor will stay strong, clean, and visually impressive long into the future.
Let’s Talk About Your Project
Every great space begins with a conversation. Reach out for a free consultation, no pressure, just possibilities.

Proud CD Epoxy Network Partner
Ready to get Started? Reach out today!
We appreciate you considering us and look forward to creating something spectacular for you!